
Budget Van Renovation: How to Renovate a Van For Under $600
January 25, 2020
I'll always look back and remember that my first home was a van.
Nearly two months after arriving back to Michigan from Europe, I am preparing to embark on yet another adventure that will hide me from a mortgage and 401k as long as possible.
Some people say I'm doing this because I am afraid of something. That I'm constantly running away from my responsibilities.
Well, of course I am. *lights candy cigarette* Adulthood can suck.
And that's why my boyfriend and I renovated a van to road trip the United States.
We aren't the first millennials to embark on this adventure, and we certainly won't be the last. Chances are, you are dreaming at this exact moment, wishing one day to have an epiphany, pack your bags, sell your suburban SUV for an old rusty 1960s retro van, and take off into the sunset heading for the west coast.

On a brisk Saturday, we drive into metro Detroit, a list of Craigslist ads stored in our phones. The goal: find a van to suit our needs and that won't break down as we ride into dusk.
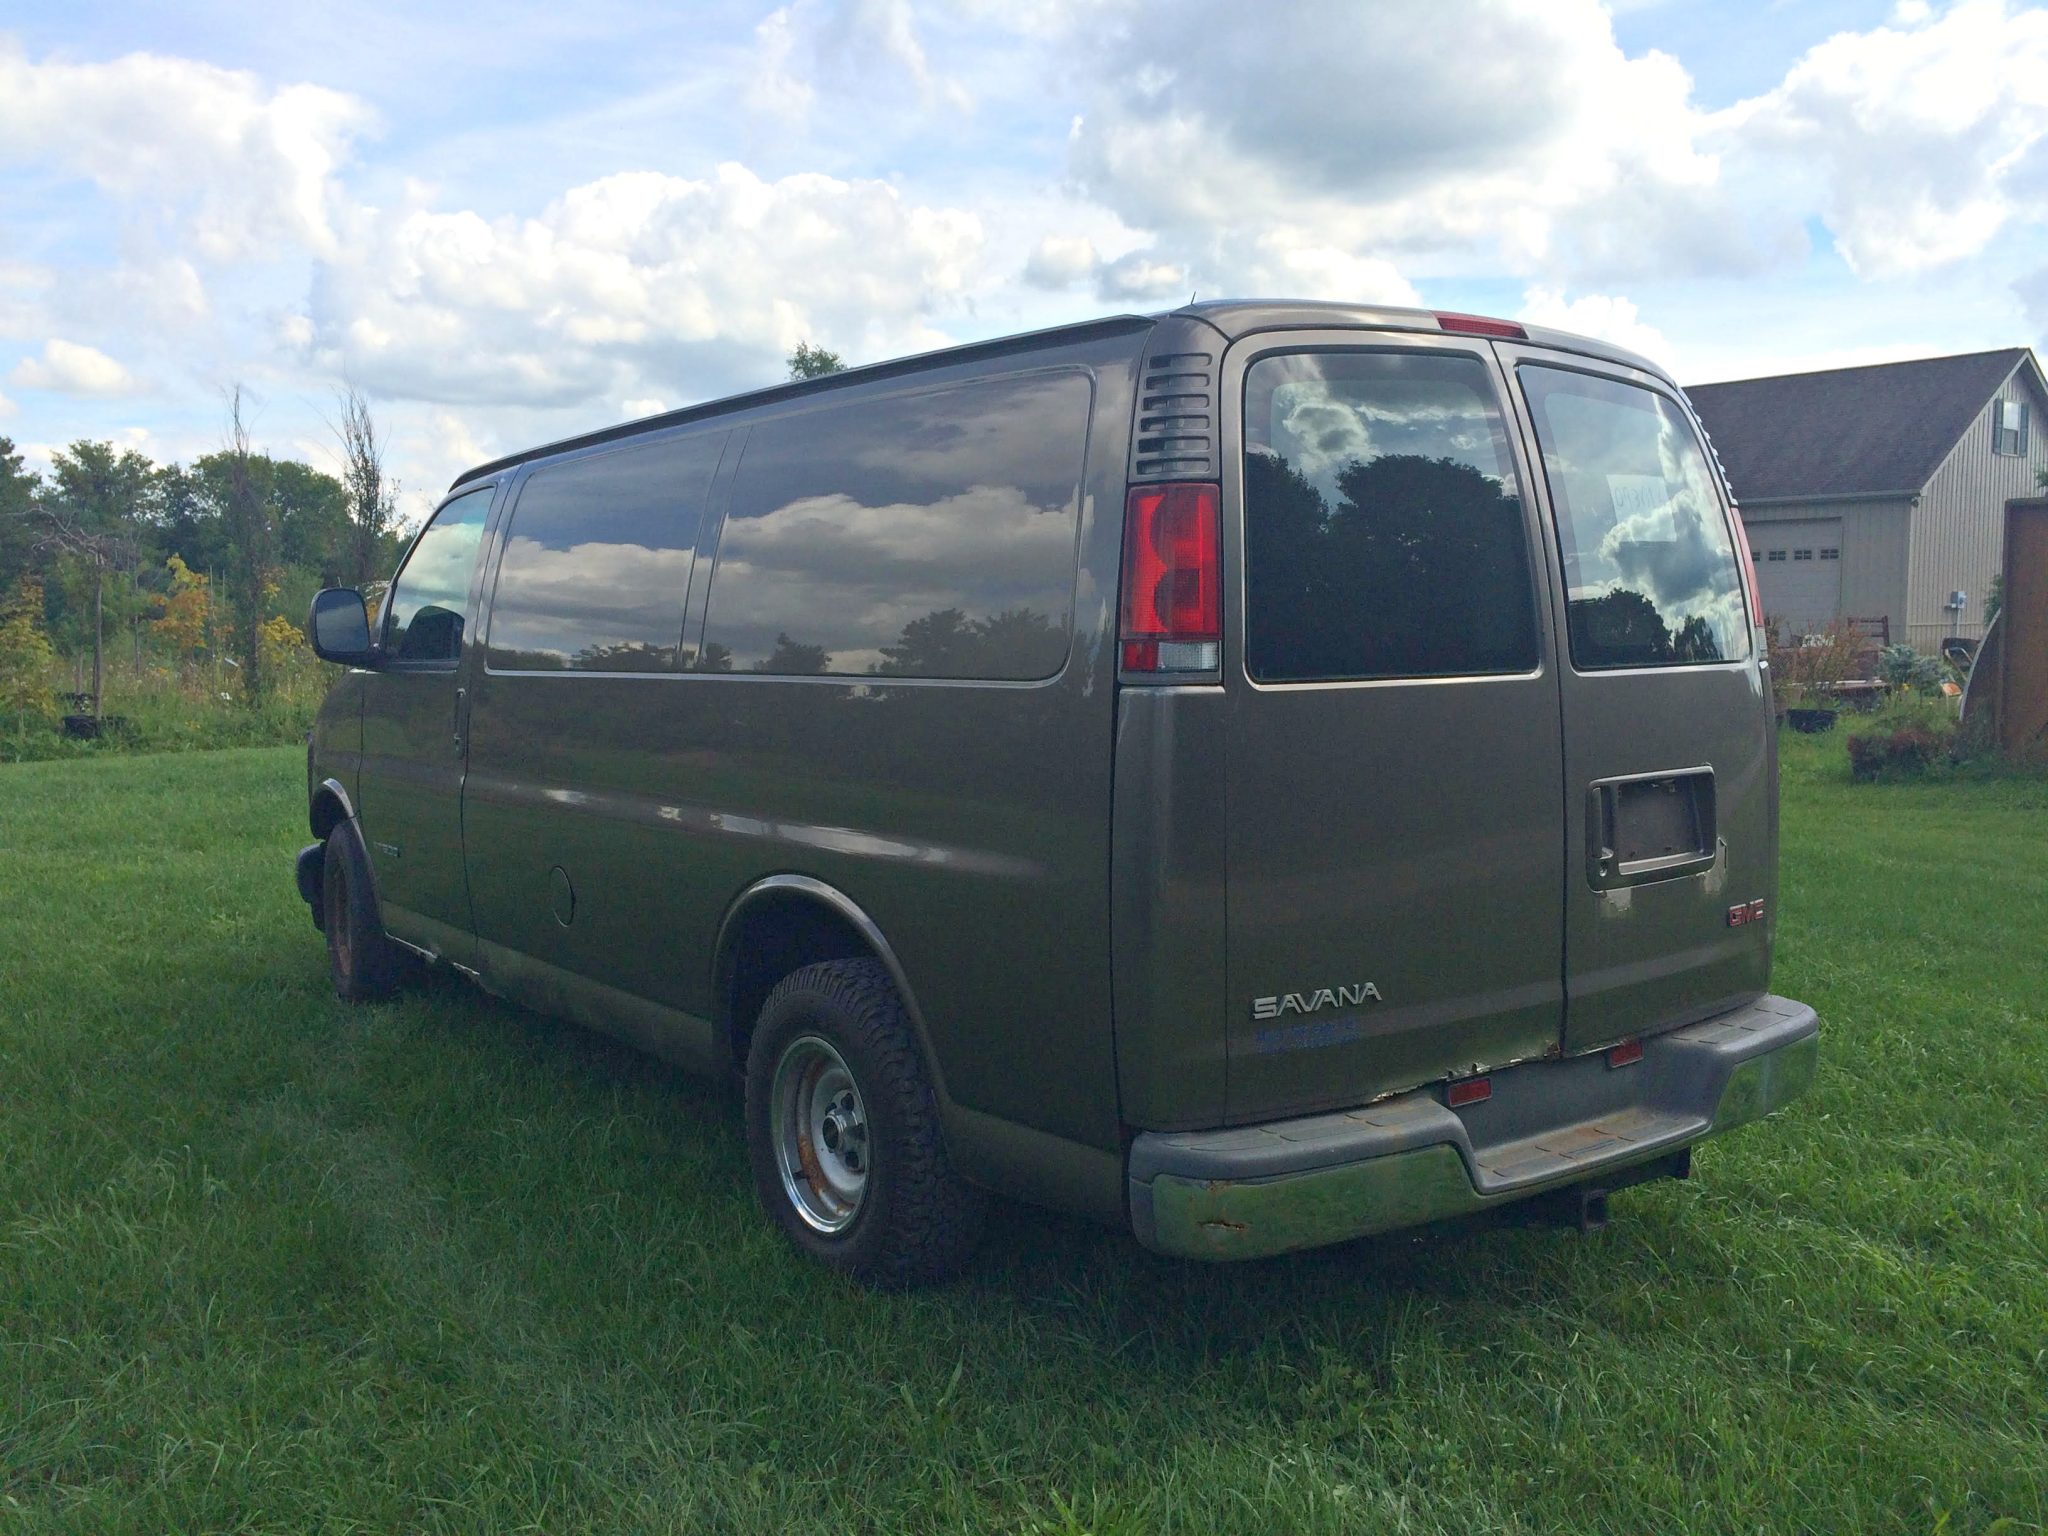
Eventually, we end up in a used car lot looking at a 2001 GMC Savana. The price just dropped from $2,900 to $1,900. If anyone knows anything about Josh and me, it's that we tend to jump at chances without really thinking about them too intensely. Keeps life interesting.
The sides are rusting; it needs new tires, and the odometer clocks in at 144,000 miles. Then again, there is already a shelving unit built in the back, black carpet lines the flooring, and the previous owner already insulated the sides of the van.
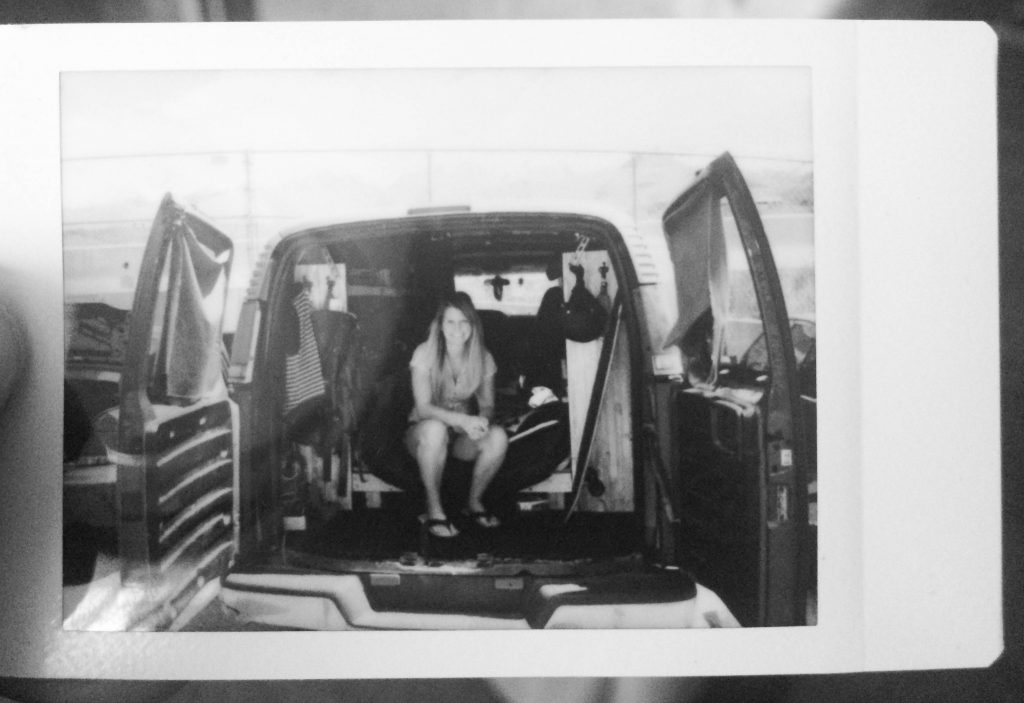
World, meet our new baby. We bought it on a complete whim.
Excited to show off our first "home" to our friends and family, we discover that only one of the back doors opens, the rust has practically rotted through our entire right door, and the reverse lights fail to work.
Okay, okay, okay. It's a diamond in the rough, and I still see potential, even if I need a bottle of wine to convince myself.
So we get to work.
1. The Basics
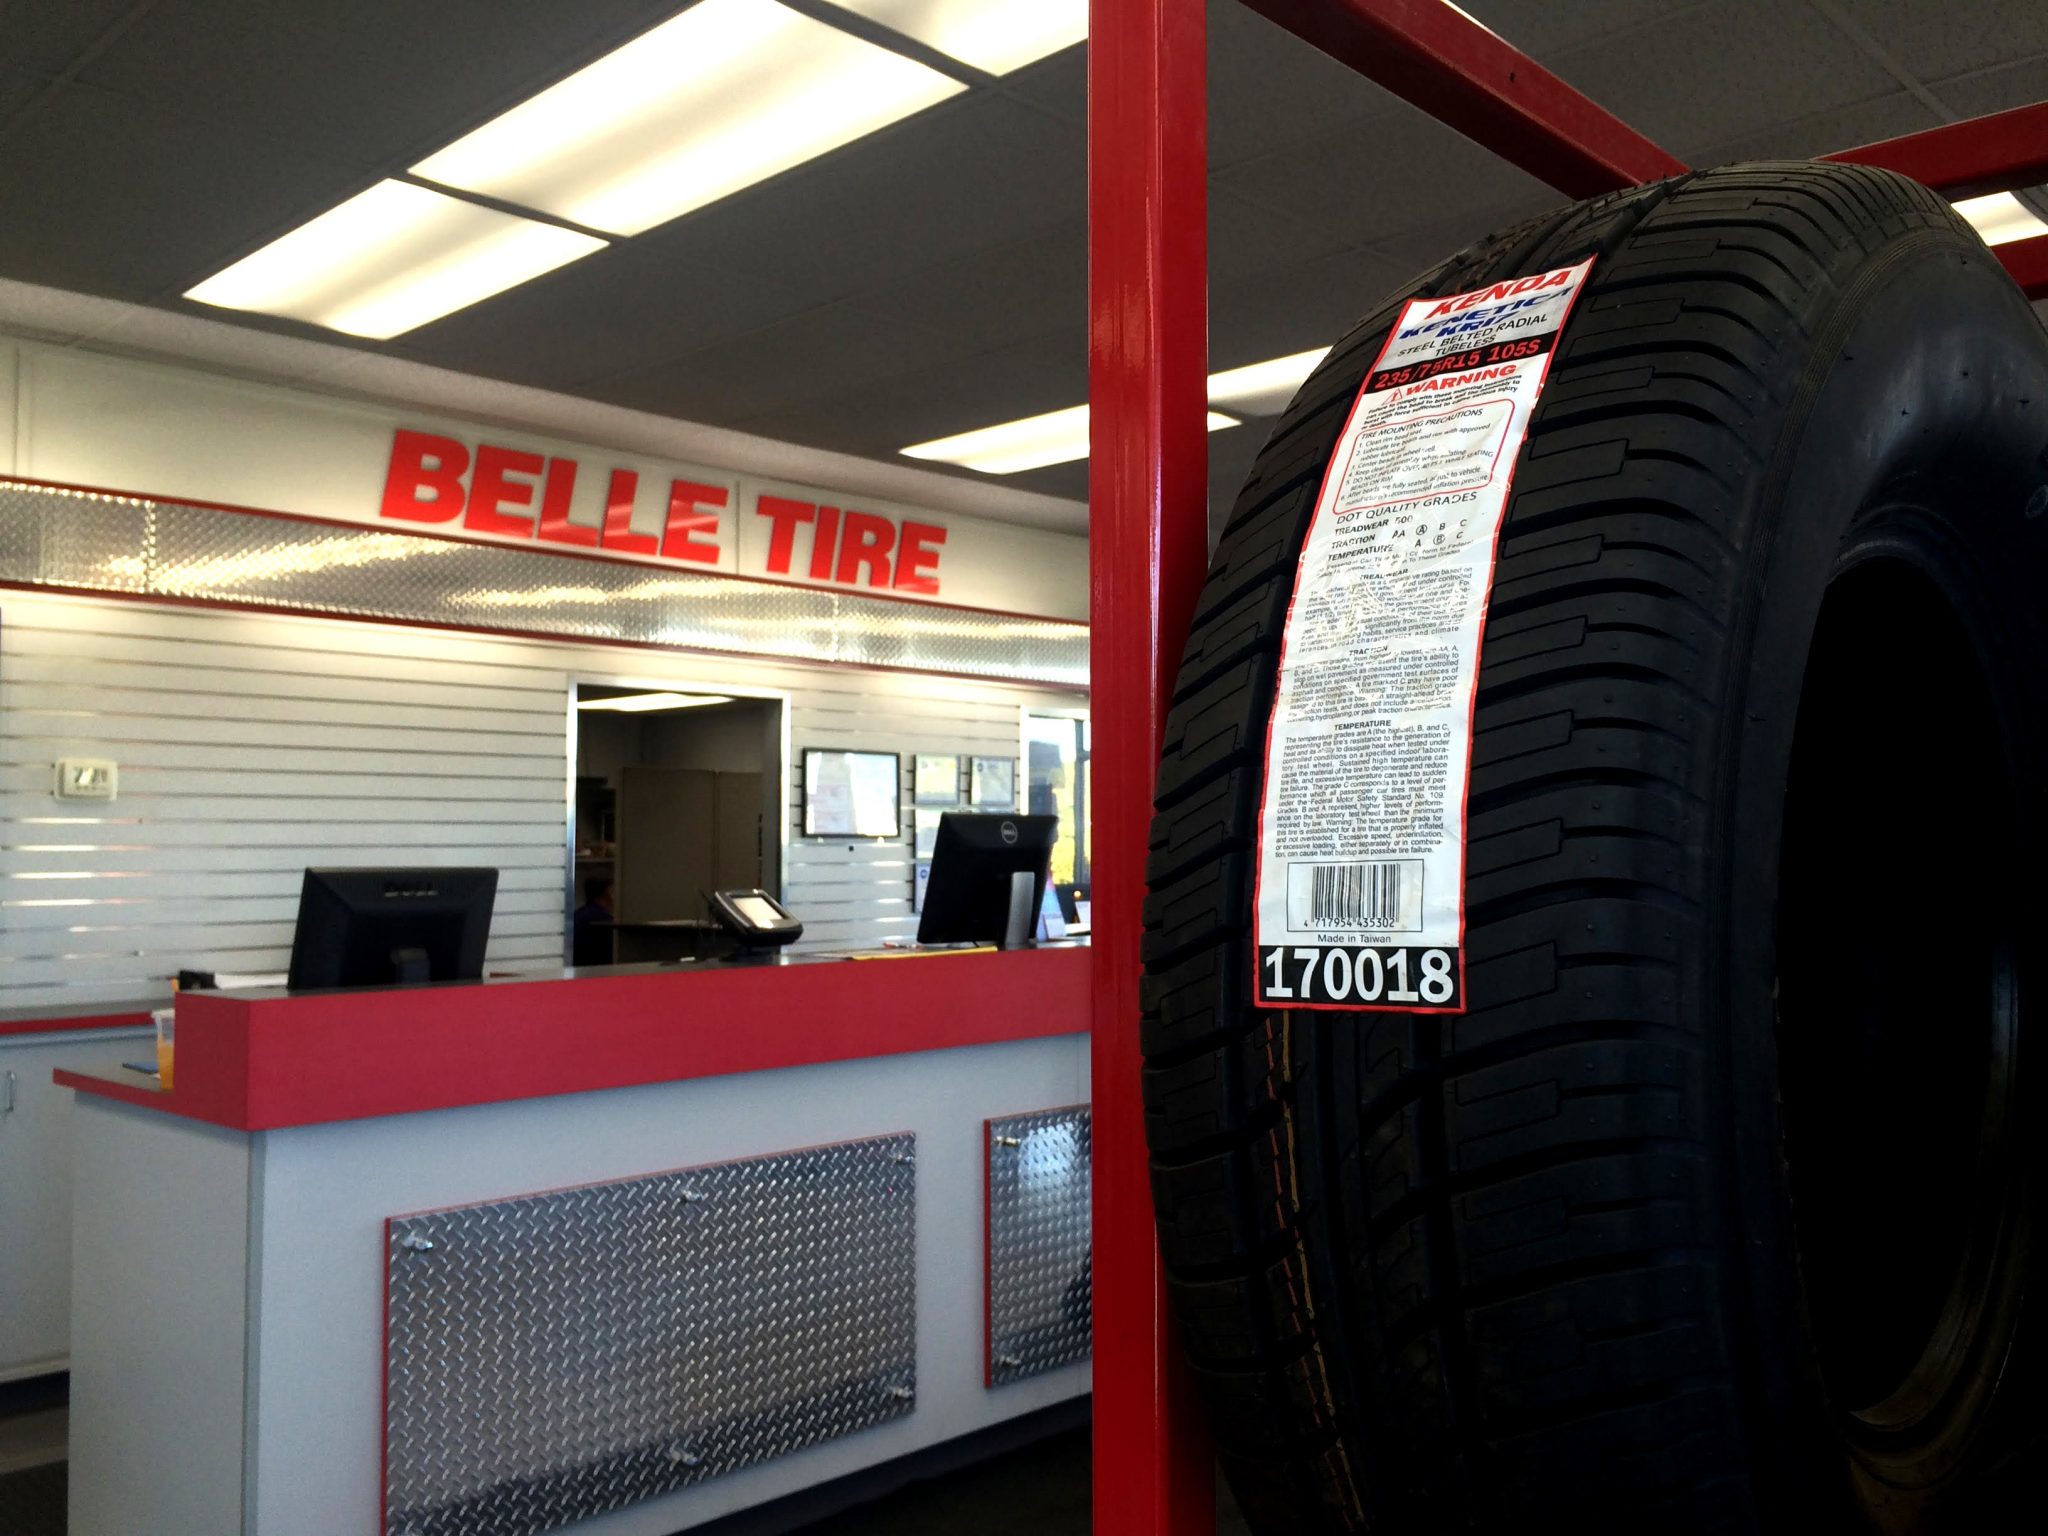
The top priority includes getting together with our friends at Belle Tire to check out the van. Before the renovation process can begin, we need a complete check-over to ensure no mechanical surprises will be waiting for us the moment after embarking. Buying a used vehicle comes with risk.
The day we take the van in to get four new road-trip-ready tires from Belle Tire, we also ask them to inspect the van. A service offered for free by the company.
With winter quickly approaching, getting a new set of tires is the most critical fix. No tread=slipping on icy roads=going in the ditch=paying as much for a new set of tires as it does to get towed out.
I am not a fun person to be around when I am stressed. Invest first to save yourself from throwing an adult tantrum somewhere on the side of I-90.
2. The Prep
The planning portion will make or break your design vision.
First, step into the van to decide on the design and logistics. Ask yourself questions like this:
- How much storage space do I need?
- How tall does the bed need to be to fit my belongings underneath?
- What size bed do I want?
- What is the color scheme?
- How will I cook?
- Do I need a table?
- How will I store water?
- How will shelving be designed?
The list goes on and on. It's decision time. No more "maybe we can do that" or "we could try this!". It is time to decide where you will go from here, what supplies needs to be purchased, and how you will design a van to fit all your road-tripping needs.
Take measurements multiple times. Write down the height, width, and depth of everything you plan to incorporate into your moving home. How long will shelving units be? What is the length of a twin-size mattress? How wide do you need the curtains to be?
3. Purchasing
Once you store a rough guideline in your head and on paper, it's time to start buying supplies. Your local hardware store will be your new best friend. Bring along the paper with your measurements, and find a worker you can trust with your life. Describe to him what you are doing (be prepared for a "you're living in a van?!" look) and ask for their help.
They will tell you what kind of wood is best for building a bed frame, what saw blade is best for cutting plywood, even what screws & bolts to use to ensure your shelves don't fall apart ten miles down the road. They are the experts, and your job will be much more complicated without them.
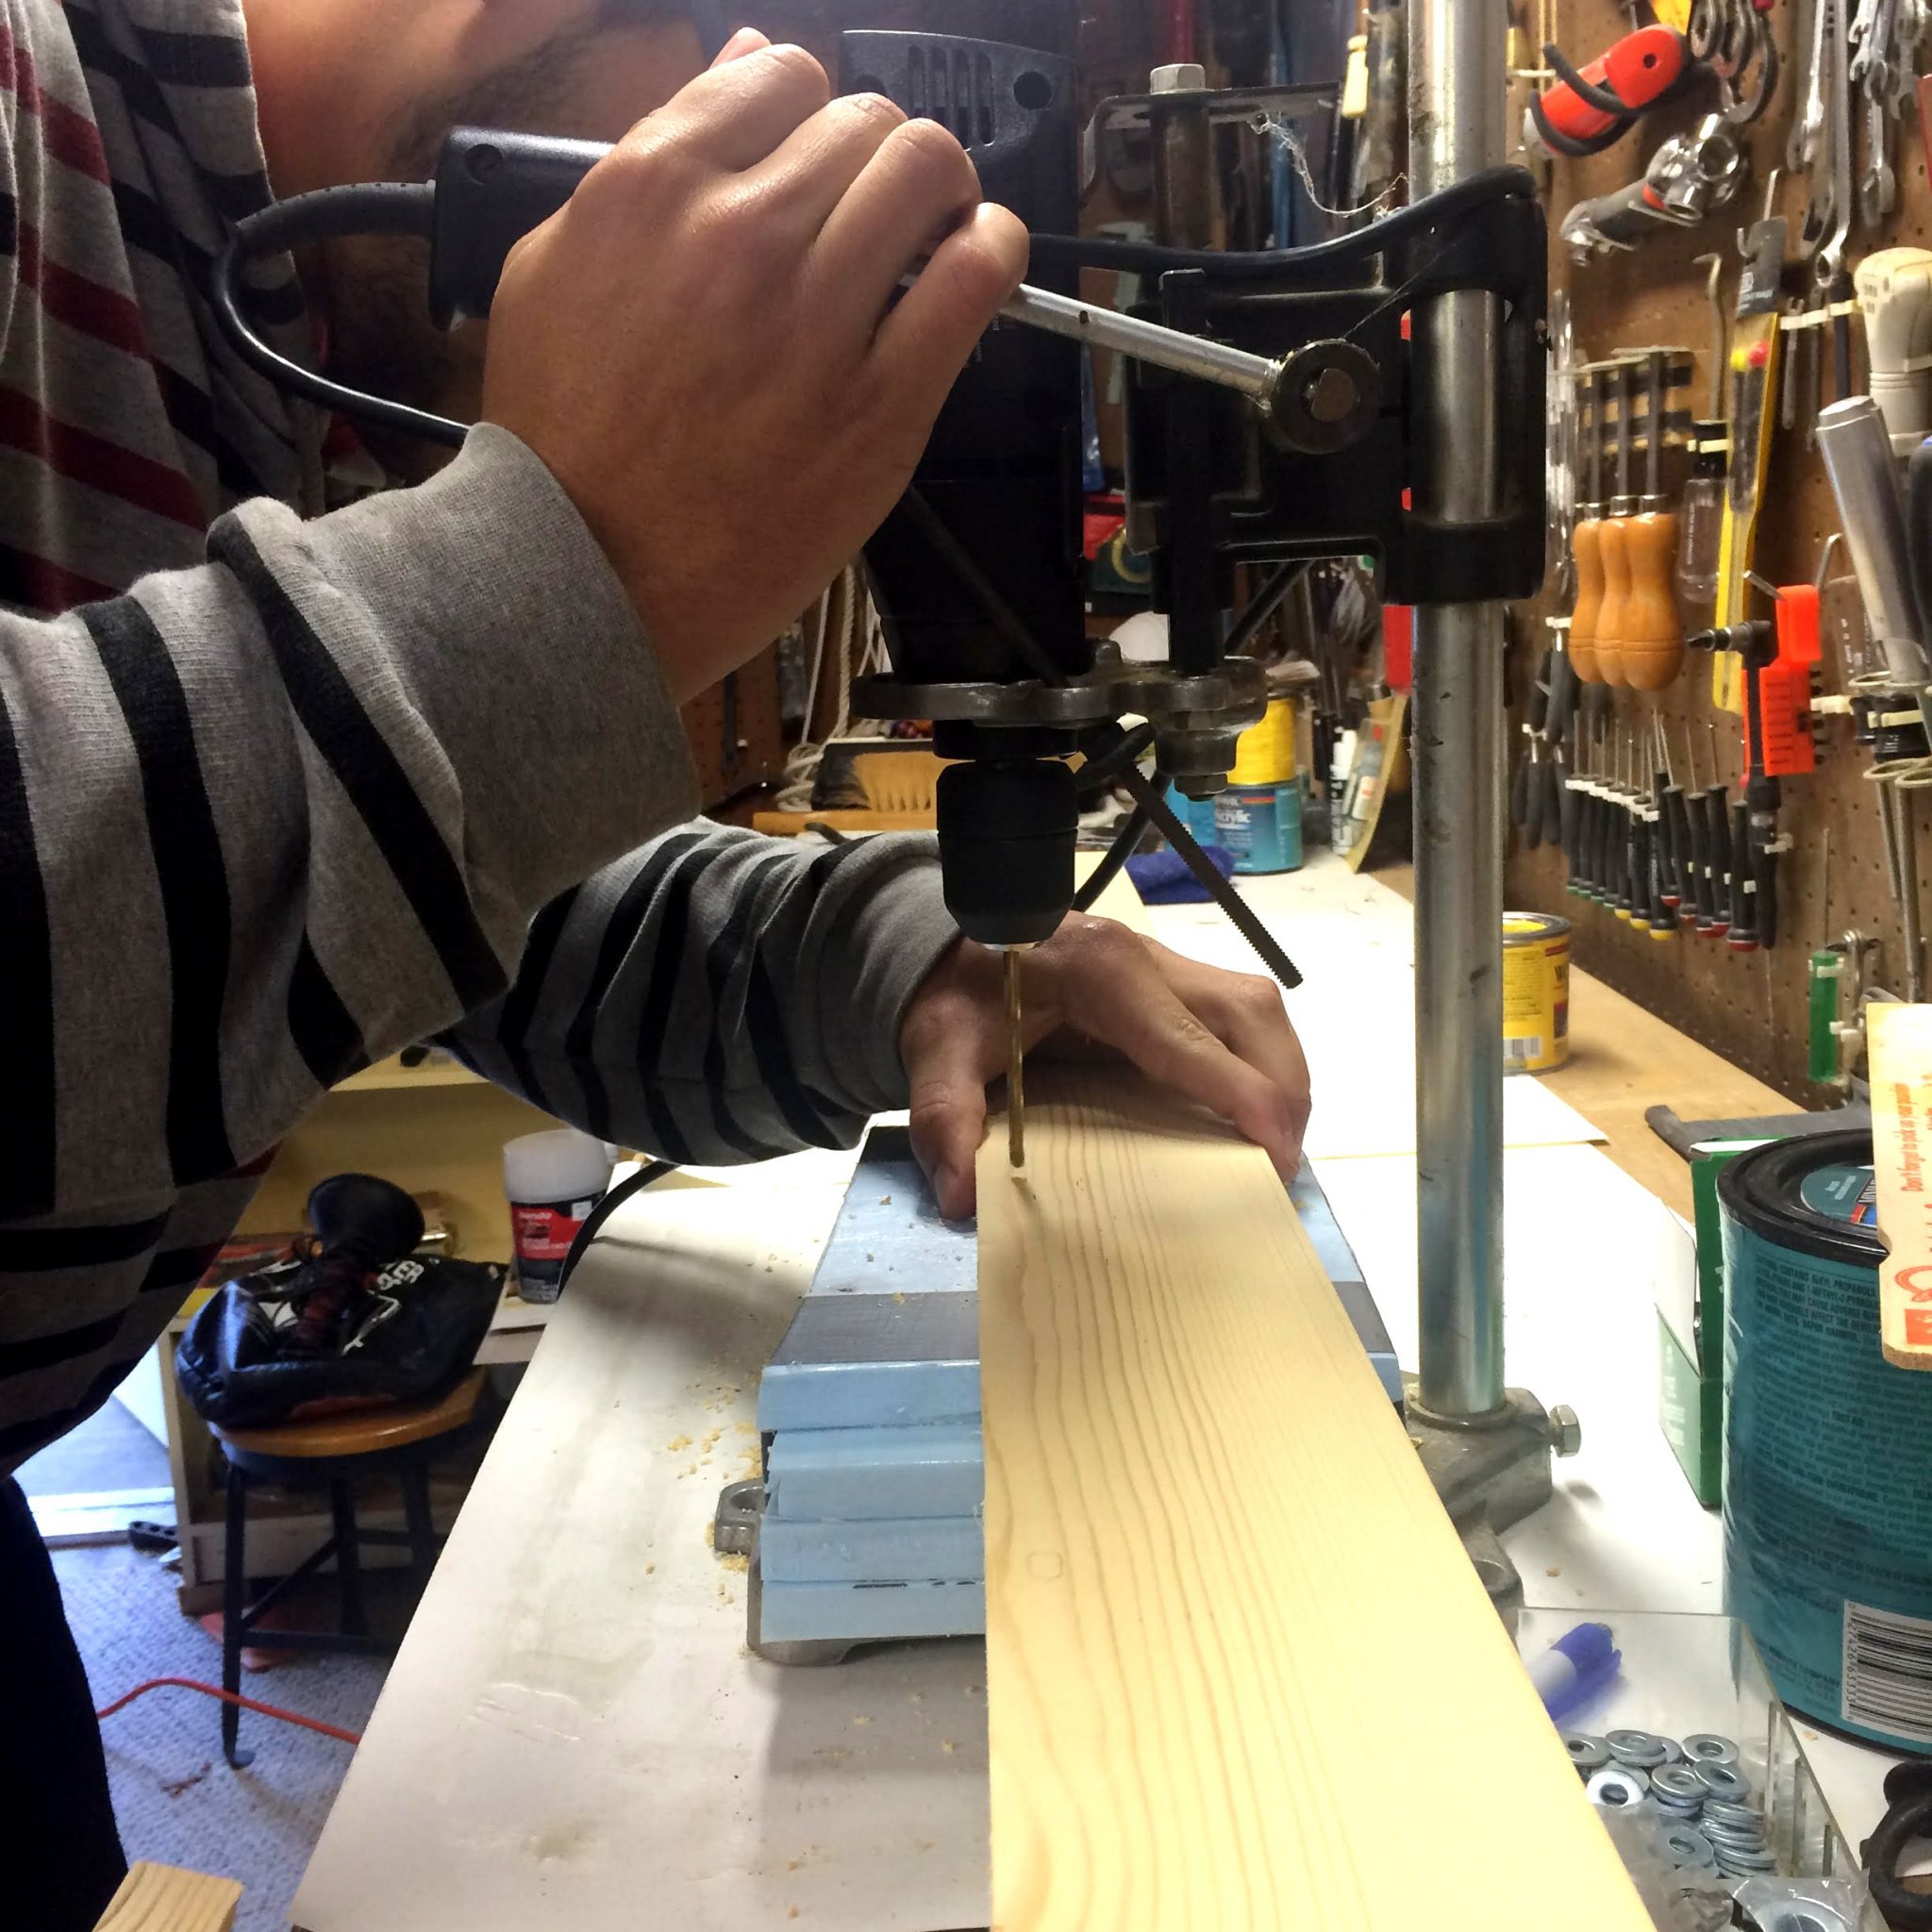
4. The Labor
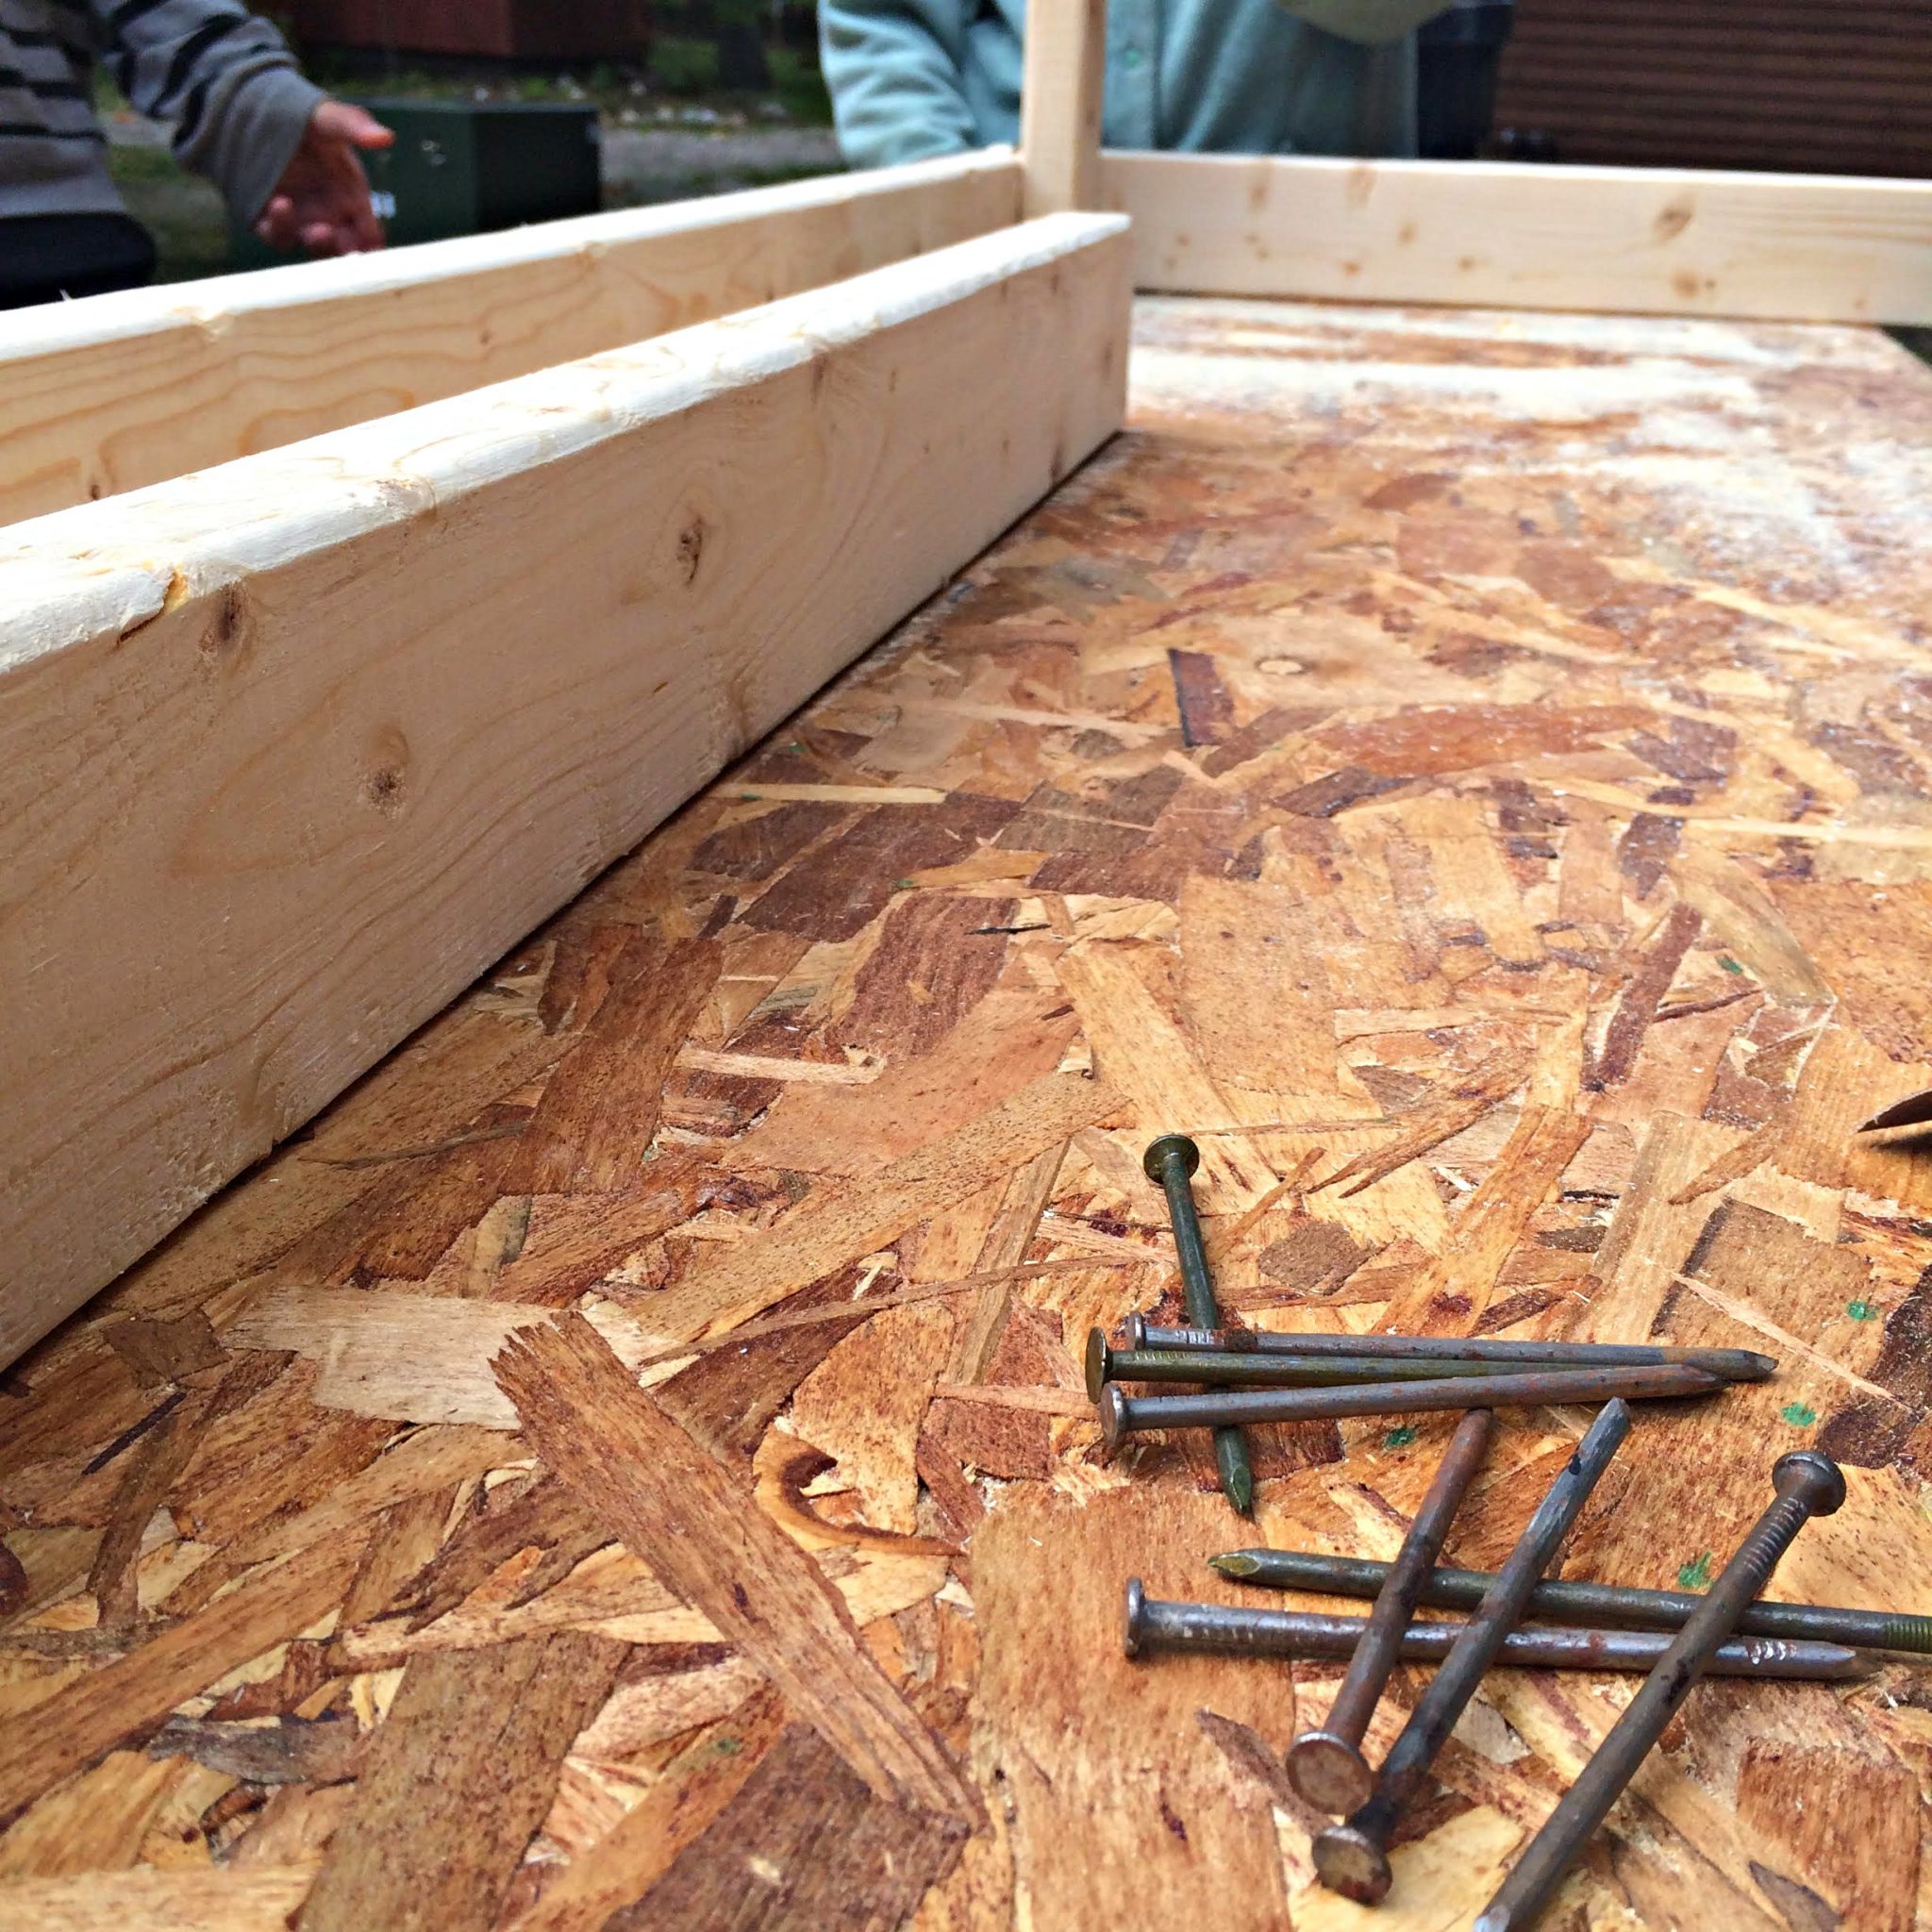
AKA the part where you'll get frustrated and try not to throw your tape measure into a lake.
You'll measure and cut, and measure again to find out you're .25 inches too long or too short. The pieces you dreamt would fit together perfectly are fitting together like pieces from separate puzzles. Nothing quite fits, your saw stops working, and you can't find the last 2X4 you swear you bought.
In this stage, it appears the work will never end. Countless hours are spent on what seems like zero progress. The truth about any renovation: preparation takes the most work.
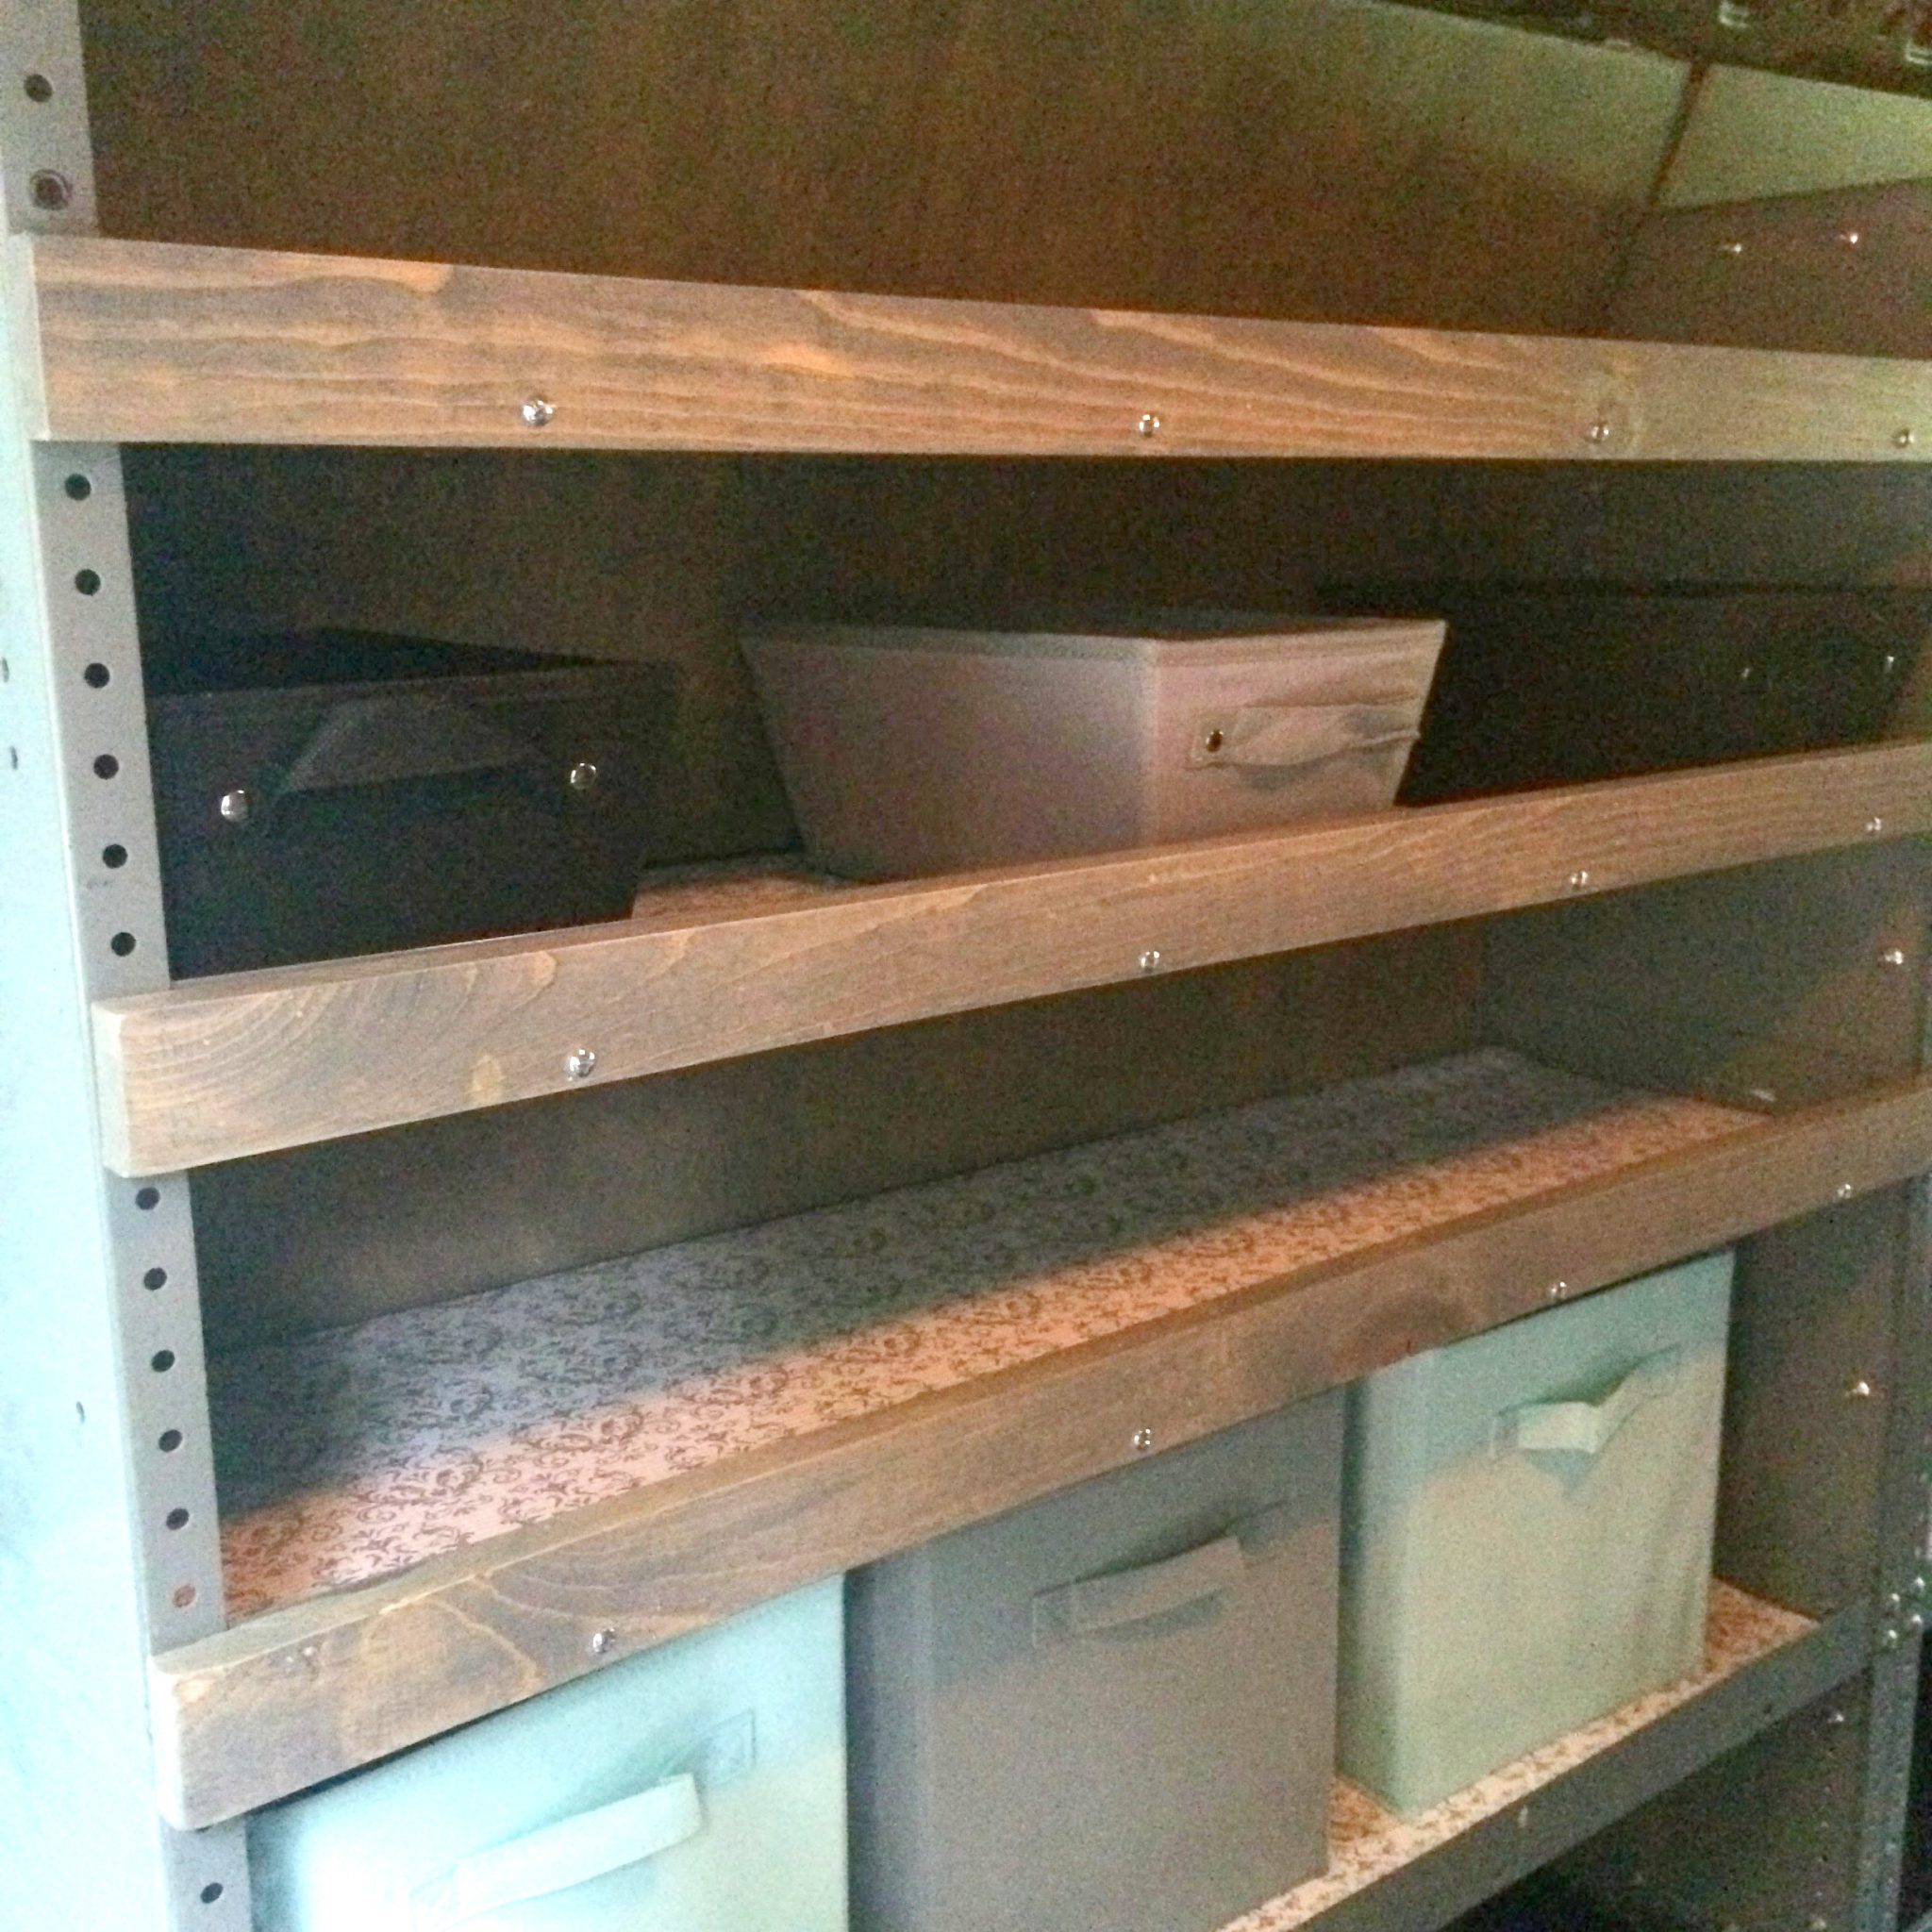
For example, we decided on a grey wood stain for our shelving units in our van. The first store we visited didn't have grey stain available. After finding the correct color, we cut the wood into the desired lengths. At first attempt, they were far from the right size. It turns out the measurements we thought were perfect were slightly off. After shaving and cutting multiple times, it seemed a perfect fit. Then we sandpaper every piece (25 in total), apply a coat of stain to dry overnight, apply a first coat of polyurethane, let dry for two hours, apply a second coat, measure where the screws will need to be drilled, drill holes for screws, find out screws aren't the correct size, buy new screws, spend multiple hours screwing, and just when you think everything is complete some of the boards you thought fit perfect are still just a tad too big. WHY *Breathes heavily*
It takes teamwork. Our team consisted of three people working all day for multiple days on this step. And even when you're having fun, you might get frustrated. Breathe and take a break. Go eat some ice cream and maybe watch an episode of "Survivor Man."
5. Make it yours.
And after you've almost sawed off your finger, hammered your big toe, cut a million pieces of wood, and lost your mind, the really fun part begins.
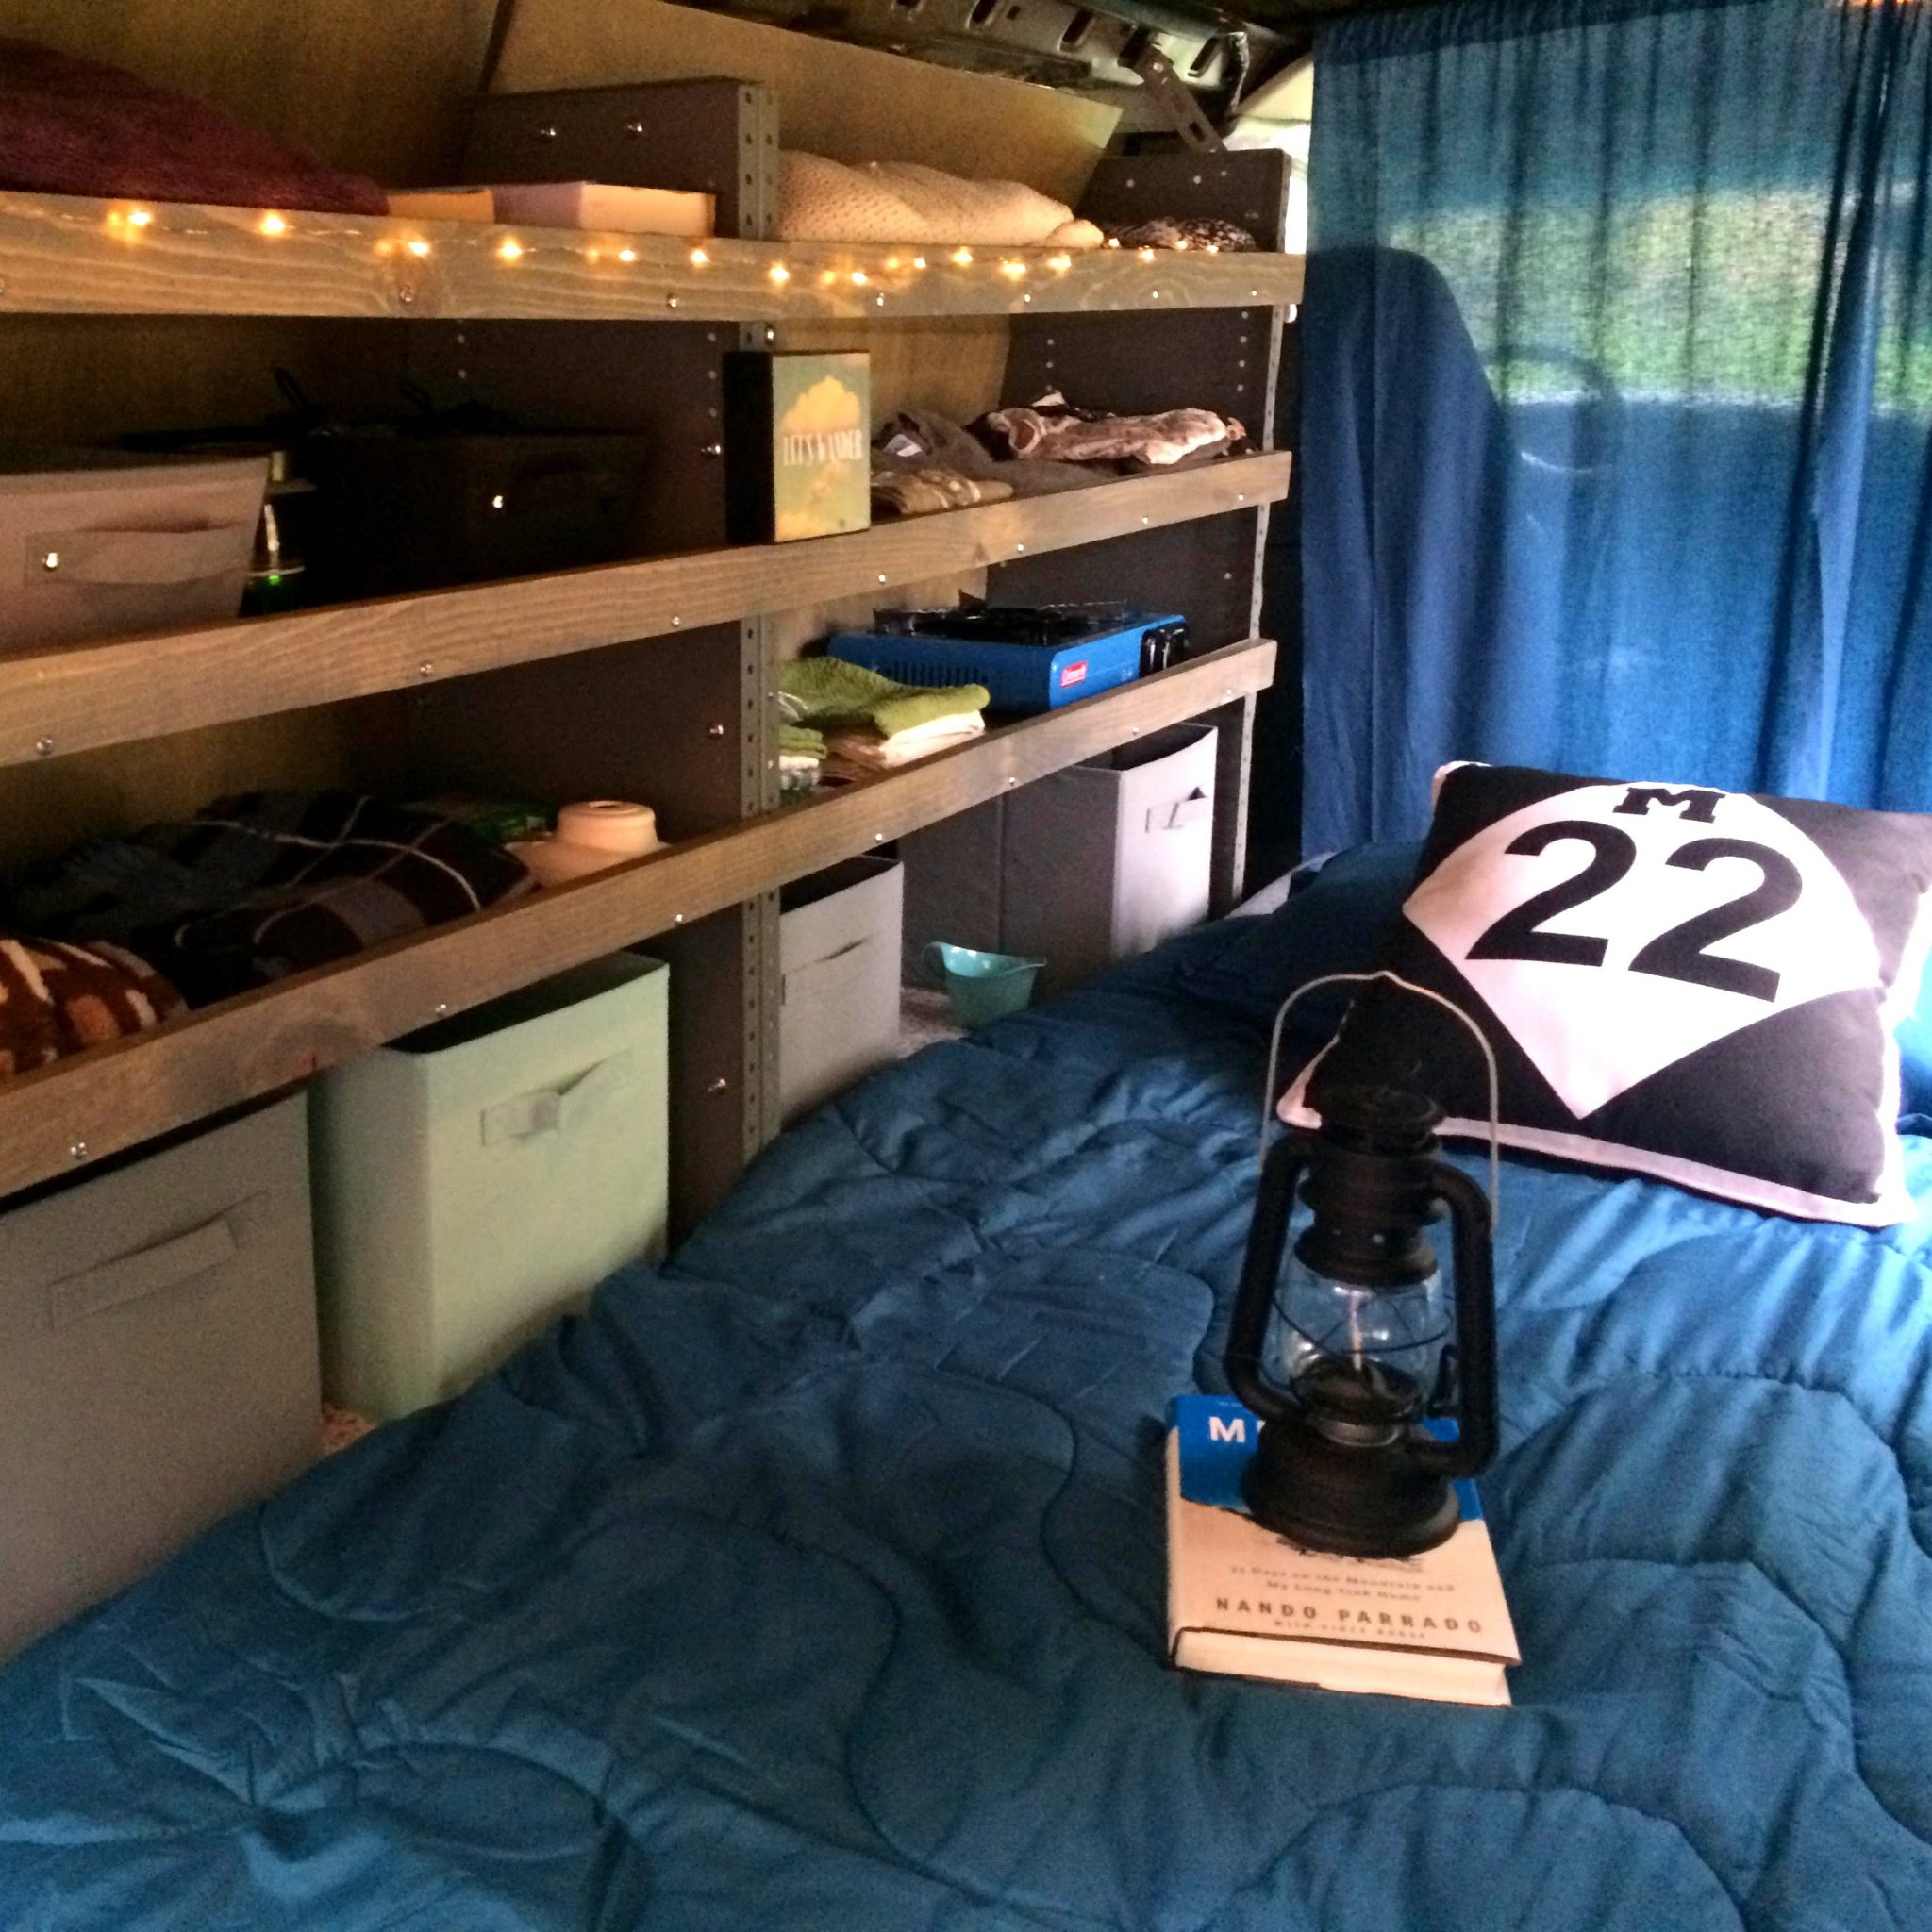
You'll make your bed, decorate shelves, hang lighting, install the stained wood, and fit together the last pieces of the puzzle. After working for days on what seems to be a never-ending project, your van turns from a rusty ol' work vehicle into a glamping home fit for a mountain-chasing queen.
Look into your almost completed van and make sure you have the essentials:
- A camping stove
- Dirty laundry basket
- Trashcan
- Spare tire & jumper cables
- Collapsible table
- Car chargers
- Flashlights
- Enough blankets to survive in the North Pole
So how long does a complete renovation of a cargo van take? No more than two weeks.
How much money does it take? Less than you're probably thinking. The difficulty in explaining how to renovate a van comes with the knowledge that no one will do it the same, and you will design yours differently than mine. Take a look at one of the hundreds of van renovation videos online. Each one looks different, requires different supplies, and different amounts of construction knowledge.
We all want to travel the country in a 1960s VW bus. Seeing as those typically sell for over $10,000, it is important to know other options. Who knows, maybe the next "creeper van" you see on the highway is part of the Millennials' new van revolution.
*This post has been sponsored by Belle Tire, offering customers the lowest tire price, period and ensuring safe travels throughout the Midwest and United States. However, all opinions, stories, and comments are my own. Thank you, Belle Tire, for getting our van ready for the road!*

At any given moment, Shalee is either lost, hunting for ice cream, or obsessively planning her next adventure.
Born and raised in rural Michigan, she began exploring the shores of Great Lakes as a teen, often sleeping in her car to save money. Eventually, her urge to explore pushed beyond her Midwest borders. Today, Shalee shares her tips and stories to thousands of readers interested in adventure and outdoor tourism. Her pack now includes two spunky hiking cats and her partner, Josh. Learn more about her here.
Join the Adventure


")
Awesome. Have an amazing adventure 🙂
Thank you!
You go girl! I had a customized van back in the early eighties. It was a lot of fun. I hope you can chase a lot of wanderlust in this one…..
What a time that would be in the eighties before all the fancy gizmos and technological gadgets we have now. Sounds like an amazing adventure!
Shaylee! =) Wonderful. I love it.
Would you be ok with me sharing your article on a few pages?
Also there is a group I think you should join if you want to have like minded girls and ladies to travel with.
Group for Women who want to caravan:
https://www.facebook.com/groups/165484570568992/
Of course! Thanks so much. And I am now joining the group you recommended. 🙂