Travel With Me! Discover trips to New Zealand, Maldives, Europe and More in 2025 & 2026. Explore here
Climbing Acatenango On Your Own: Everything You Need to Know
January 14, 2024
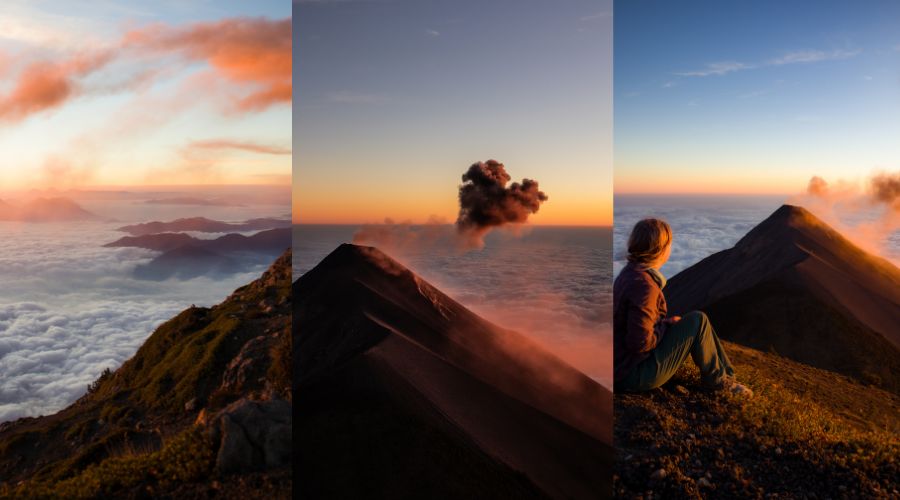
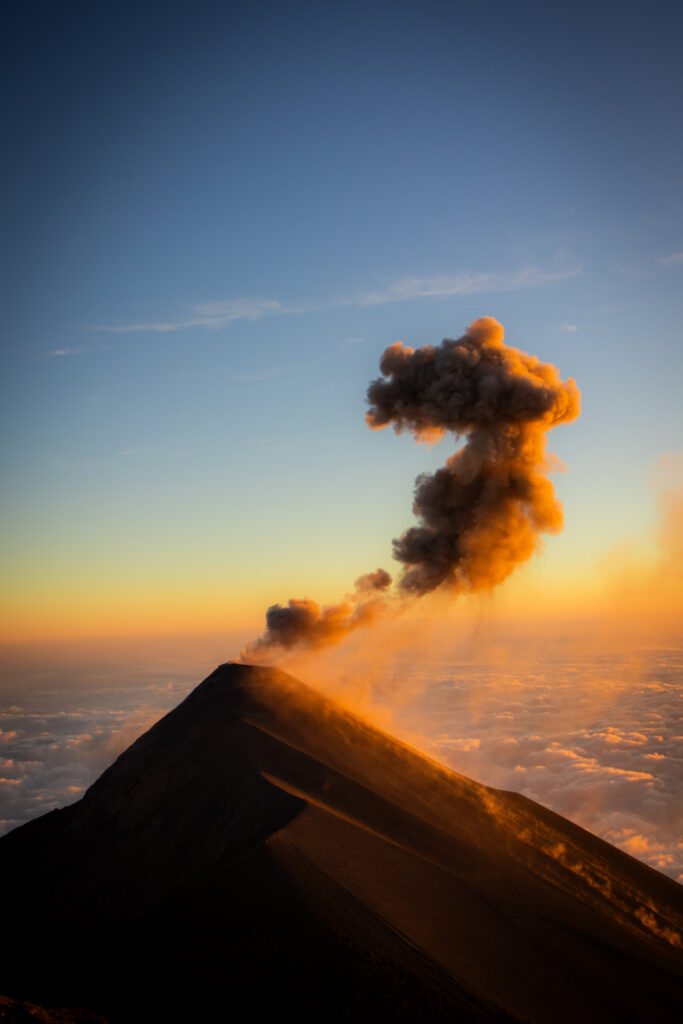
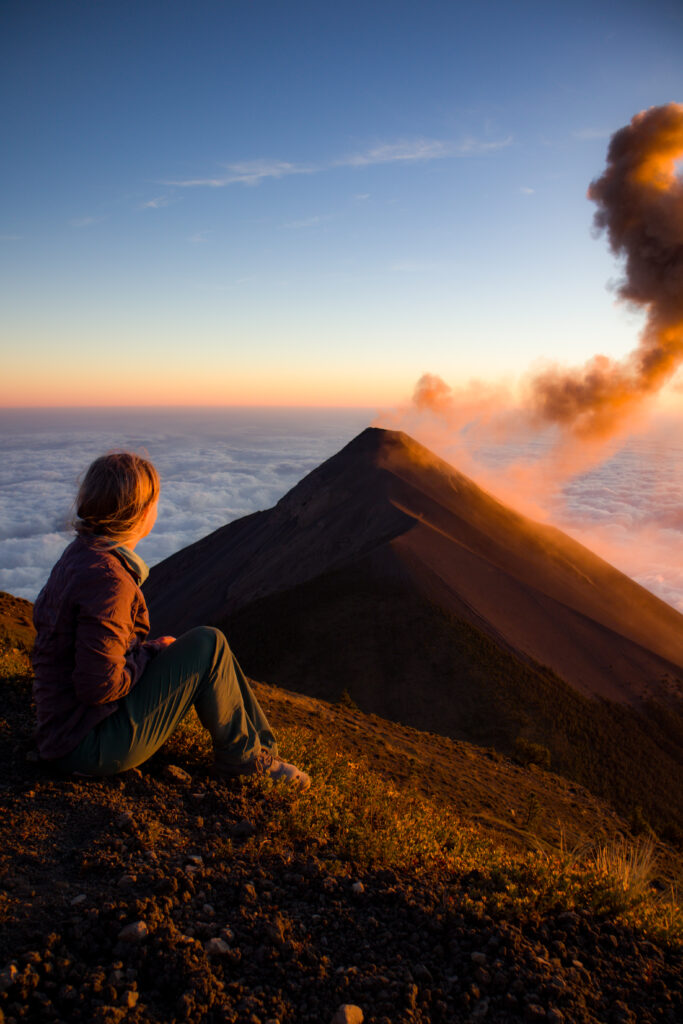
The view of Volcan de Fuego from Acatenango was one of the most anticipated moments of my travel career. I had dreamt of the moment for years, secretly fearing conditions wouldn’t be favorable and we’d be stuck reminiscing on what could have been.
If you’re researching climbing Acatenango, chances are you know the view I’m describing. Watching Volcan de Fuego erupt, shooting rocks, smoke, and lava into the sky. It’s one of the sites you wonder if truly as magnificent as the internet makes it appear.
Spoiler alert: it’s even better.
Acatengango is 13,045ft tall located about an hour's drive from Antigua. There are numerous trails to the summit, the most popular being 8.5 miles round trip and requiring 5,269 feet of elevation gain. Here is everything you need to know when deciding whether to do it on your own or with a guided group.
Climbing Acatenango On Your Own: Everything You Need to Know
Do You Need a Guide to Climb Acatenango?
No, absolutely not! A guided excursion up Acatenango is by far the most popular way to see the Fuego eruption and claim the summit, but it is not required.
The climb can be done easily in a day, and also overnight on your own. There were many people hiking the mountain alone while we were on it, carrying their own tents and gear. The biggest benefit of going with a guided group are the porters to help carry gear up the mountain. It is steep, and requires 5,200ft of elevation gain in 3 miles. If you want to spend the night on the mountain but not carry gear, a guided trip might be the best choice.
However if you plan to do it in a day, you definitely do not need to do it as a tour. Here are all the biggest tips we have for climbing Acatenango on your own.
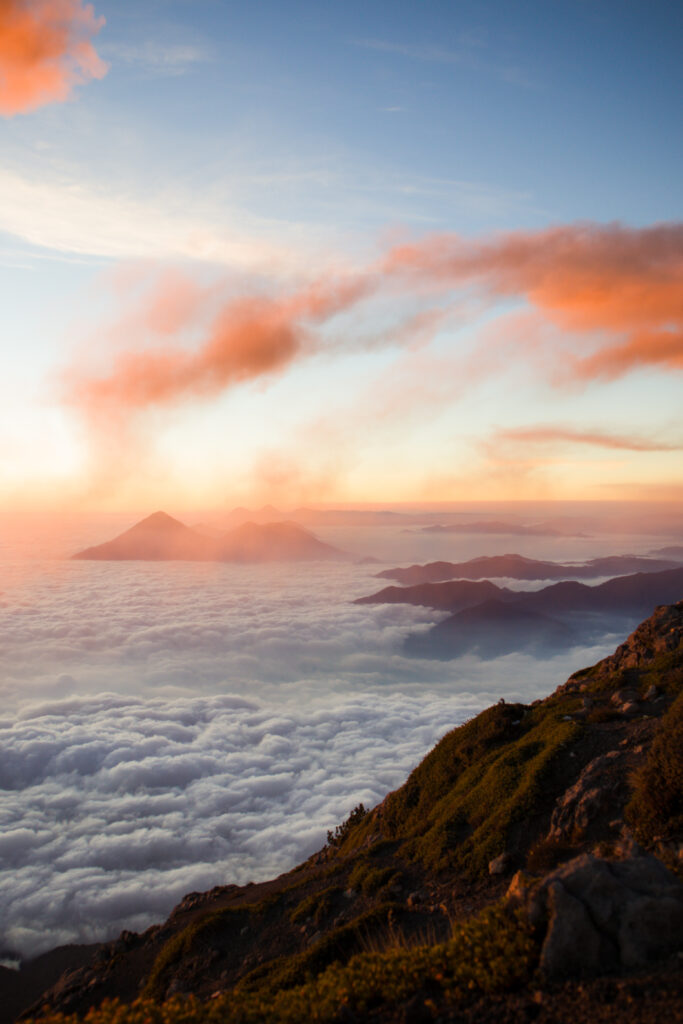
How to Get to the Trailhead
The most logistical part about climbing Acatenango on your own is transport to and from the trailhead. When we climbed the volcano for sunset, we were on a time constraint as our flight back to the states departed at 2:30 am. Before we left Antigua, I was a tad worried about getting stuck somewhere and missing our flight as the trailhead is on the outskirts of a small town on a remote mountain road without much traffic past sunset.
There are a couples of ways to get the to trailhead from Antigua:
Get an Uber or Taxi: This is what we did. We got an Uber to take us from Antigua to the Trailhead. It took about one hour and the cost was 230 GTQ (about $29 USD). On the way, we asked the driver if he would be willing to pick us up from the trailhead later that evening & that we would pay cash if he did. He agreed no problem, and even took us all the way to the Guatemala City airport after we picked up our luggage. We paid him about 1000 GTQ for that as a thank you.
Hire a Private Driver: This would have to be arranged a few days ahead of time and will probable cost about $200 for the day. It’s the most expensive option, but could be worth it if you want to ease stress and not worry about getting back from the trailhead if your Uber or Taxi driver doesn’t agree. However, hiring a private driver does end up being more expensive than most overnight guided excursions.
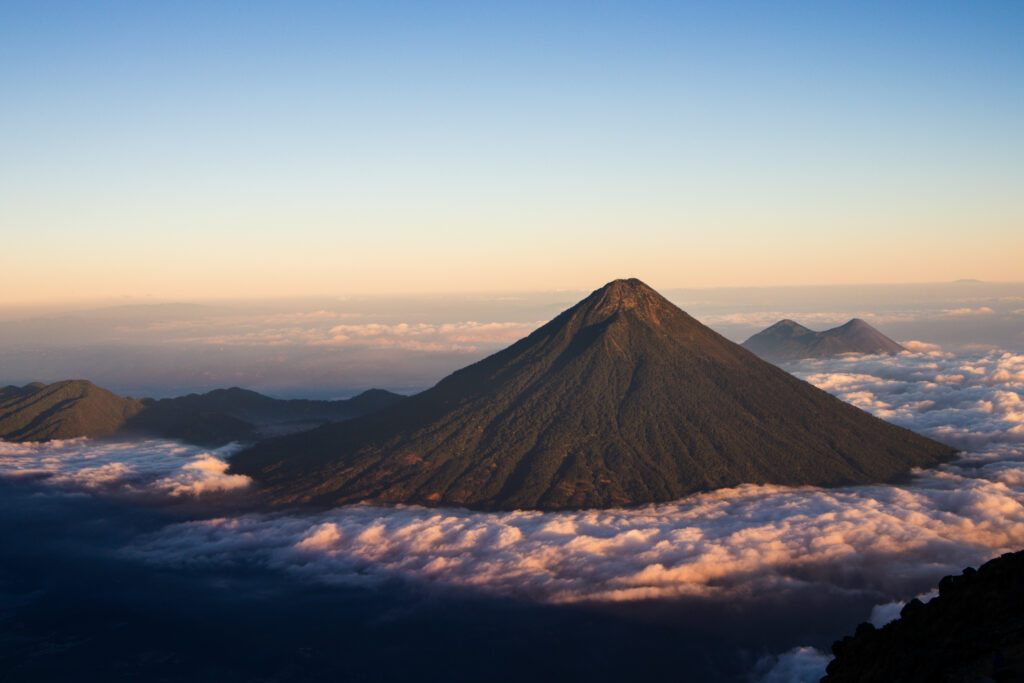
Climbing Acatenenango: Trail Info
There is only one trailhead to the summit of Acatenanango, which starts at these coordinates:
14.536804, -90.883548.
The first section of the trail follows a loose gravel road up to ‘Plaza I Love Acatenango,’ which is listed as the official trailhead and can be accessed by 4x4 vehicles. It’s a building with bathrooms, a restaurant, and tables/chairs. From the junction, the trail winds through farms and into the woods, following a steep, dirt path with many makeshift stairs.
After the first 1,000ft of elevation gain an entrance gate will come into view, where you will be required to pay 10 GTQ entrance fee (about $1.20 USD).
Once paid and past the gate, there are a few trail junctions that head in various directions. This is where you can ‘choose your own adventure’ to the summit. They all end up in the same place, with slightly different variations. I recommend downloading a GPS track to follow to make navigation on the mountain easier if there is a specific path you want to take:
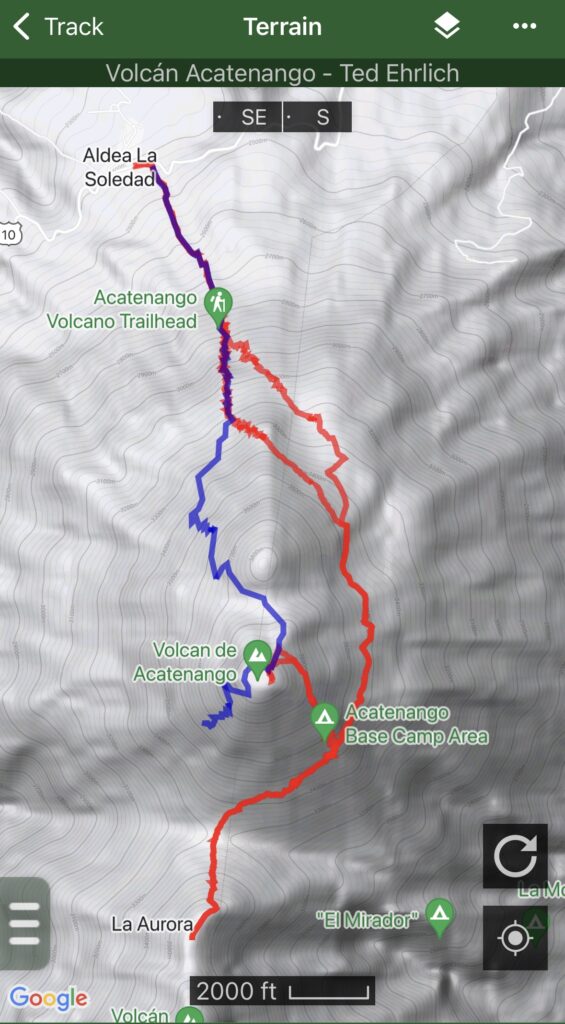
Red Path: This is the path taken by all guided tours. You can see it traverses around the mountain to the camps on the Fuego side and then curves around the summit. If you plan to continue to the saddle of Fuego (the extension shown on this track), this is the best route. If you do the entire loop including summit + Fuego saddle, this track clocks in at 12,263ft of elevation gain and 15.7 miles. Whew!
Blue Path: The most direct way to the summit, and the one most frequented by those climbing it in a single push. It is 7 miles round trip and 5,200ft of elevation gain. This trail does have camping around 12,000ft, but does not offer views of Volcan de Fuego until the summit. This is route we took.
You can download these tracks on the Peakbagger app. (All Trails does not have both trail options)
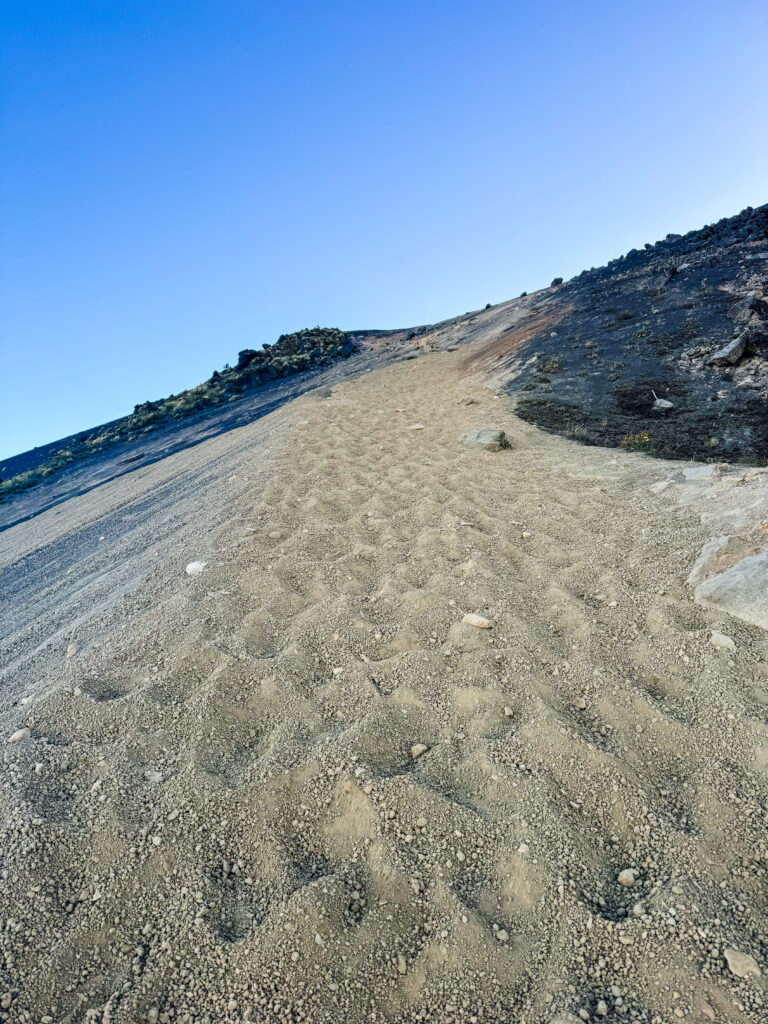
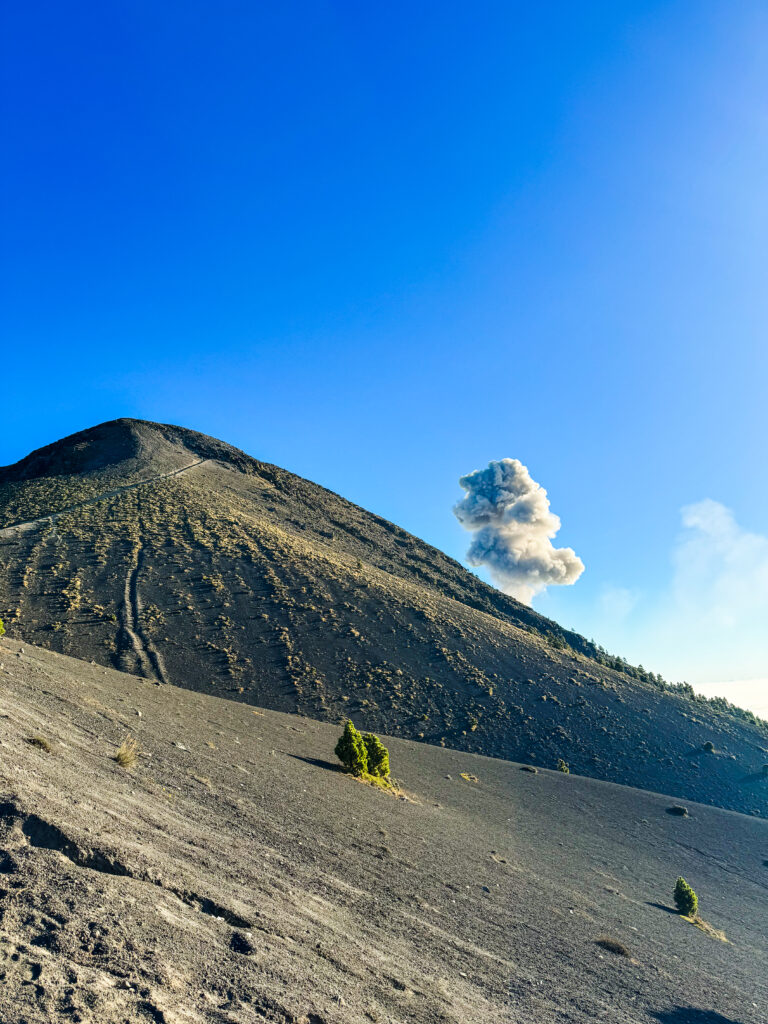
Final 500 feet from the blue track.
Pros & Cons of Climbing Acatenango On Your Own
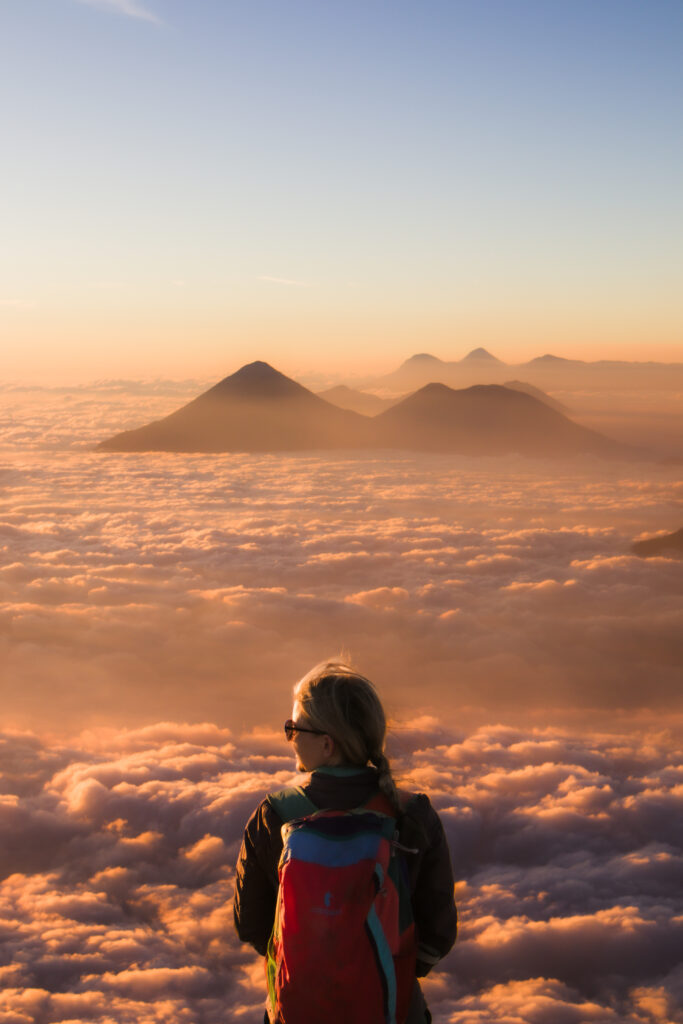
Pro: You decide when you want to go to the summit. Most guided groups hike up to camp the evening prior, and go to the summit of Acatenango for sunrise. That makes the summit very crowded when multiple guided groups are going up at once. There are often lines to the summit around sunrise. When we went for sunset, there were maybe seven other hikers at the top when we got there, and we were the only ones left by the time the sun dipped below the horizon.
Con: Price & logistics. The guided treks of Acatenango are very reasonably priced, with most costing around $115 for an overnight tour. This makes the guided option very tempting.
Pro: Route options. You can take a more direct route to the summit on your own, as referenced above on under ‘Climbing Acatenenango: Trail Info’
Con: No porters. There are numerous basecamp options as you go up Acatenango, but the best ones are between 12,000ft - 12,500ft , meaning that if you are planning to camp overnight on your own, you will have to carry all your gear up a least 4,000 ft of elevation gain.
Pro: No time limit. We stayed on the summit for about an hour, waiting for sunset to fade so we could see the lava eruptions occur. Guided trips are more restricted on time, and if the volcano doesn’t erupt during the allocated timeframe, it could be a bit disappointing (the eruptions can be every few minutes or every 20 minutes)
Con: Better views at night of Fuego. Most guided camp options have you stay in viewing distance of Volcan de Fuego, meaning you can watch the lava erupt and flow as you hang around camp. The more direct route has Fuego blocked behind Acatenango until the summit, meaning you will not see lava at night.
Pro: Go at your own pace. The guided groups trek slower and it often takes most of the day to get to camp. We were able to get up to the summit and back down to the trailhead on our own in 5.5 hours. On the flip side, if you are a slower hiker, the guided groups will be a great pace!
Climbing Acatenango On Your Own: What We Packed
We went light and fast on our hike to the summit. We used the app Stasher to find a hotel in Antigua to hold our bags while we climbed (it was $5/bag). If you are staying in Antigua and heading out for the day, this shouldn’t be an issue.
What we packed:
- 3.5 liters of water each
- 2 packs energy chews
- Down jacket
- Gloves
- Thermal layer
- Additional snacks
- Entrance money
- Headlamp
- Hat
- Sunglasses
- Sunscreen
- Ibuprofen
Things I wish I packed: One more layer. After the sunset set, we were shivering on the summit with some gusty winds. Would’ve loved an additional layer.
That’s it! I hope this helps on your climb of Acatenango. Best sunset of my life, hope you enjoy it as much as we did!
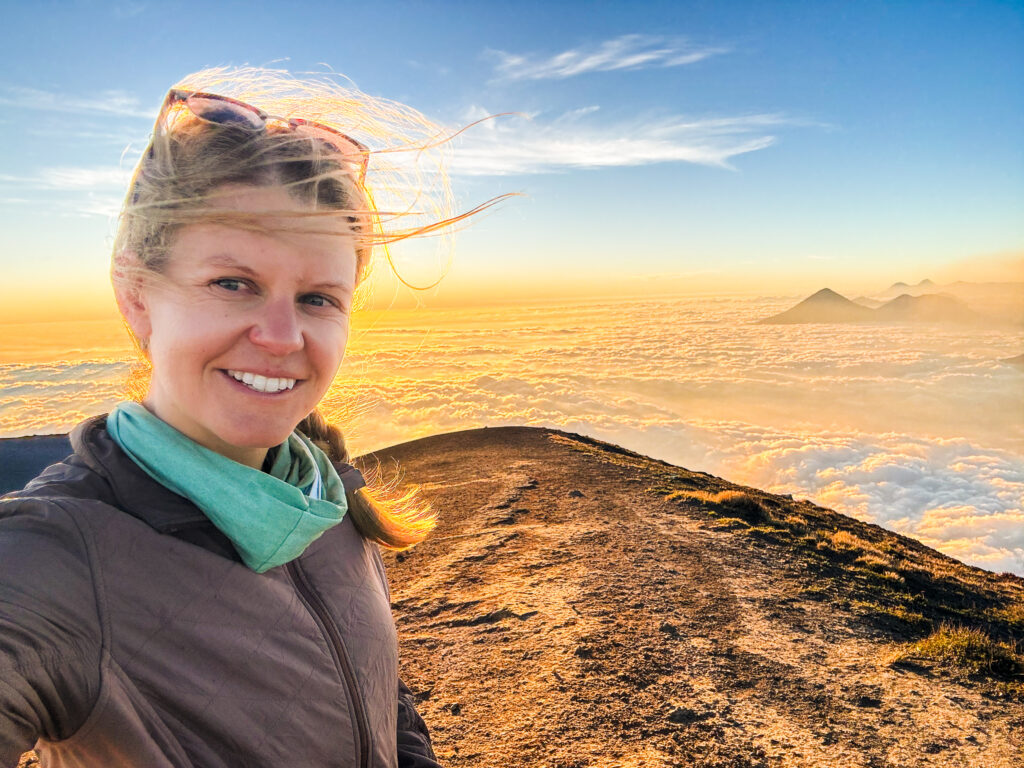
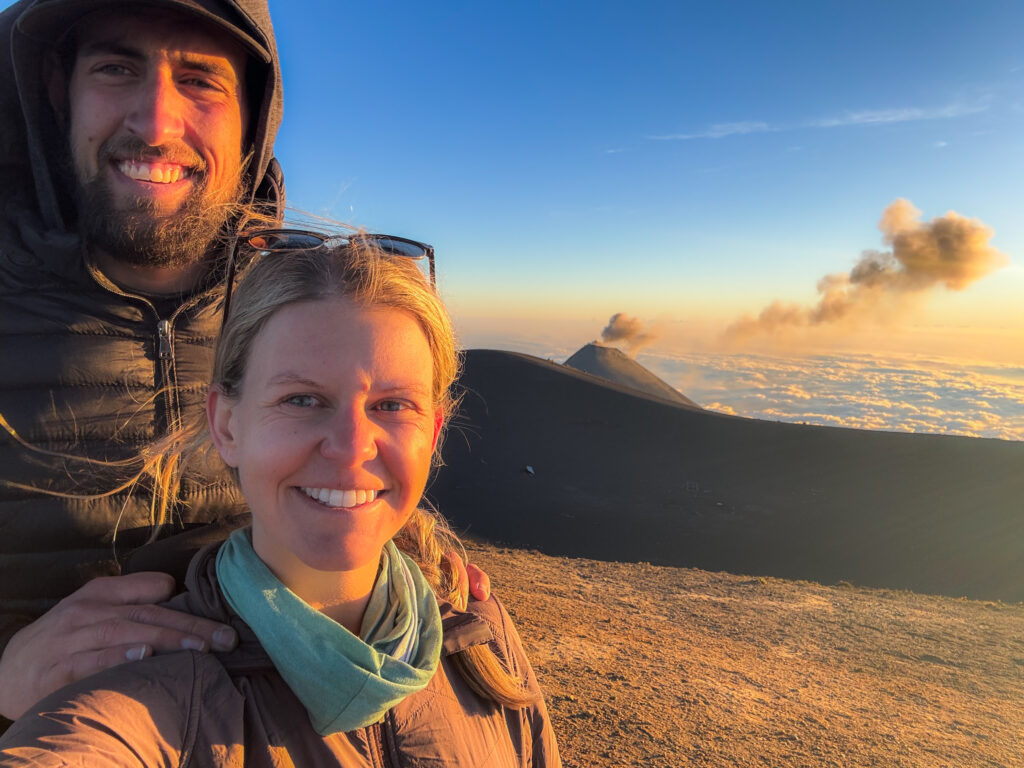

At any given moment, Shalee is either lost, hunting for ice cream, or obsessively planning her next adventure.
Born and raised in rural Michigan, she began exploring the shores of Great Lakes as a teen, often sleeping in her car to save money. Eventually, her urge to explore pushed beyond her Midwest borders. Today, Shalee shares her tips and stories to thousands of readers interested in adventure and outdoor tourism. Her pack now includes two spunky hiking cats and her partner, Josh. Learn more about her here.
Join the Adventure


[…] posts: Climbing Acatenango On Your Own: Everything You Need to Know Acatenango Volcano Hike Difficulty: BEST GUIDE [2024] Acatenango Volcano Hike || Complete guide […]
[…] hikes aren’t just an afternoon stroll. Volcán de Acatenango demands a vertical ascent of at least 5,000 feet, depending on where you start — a grueling, near-vertical climb that challenges even the most […]