How to Take Good Instagram Photos
March 19, 2022
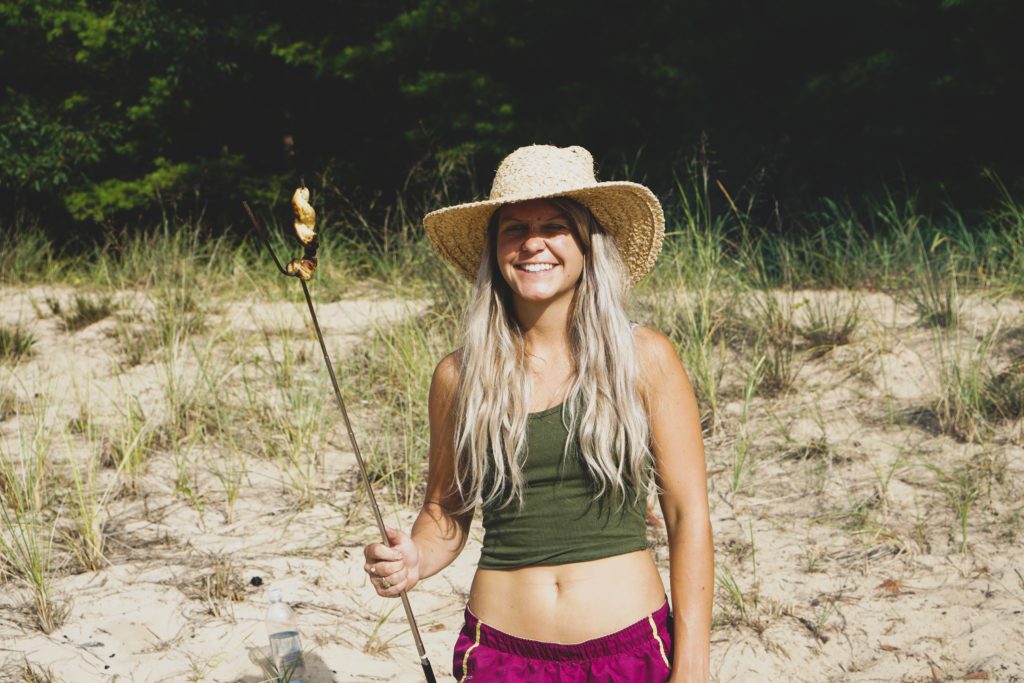
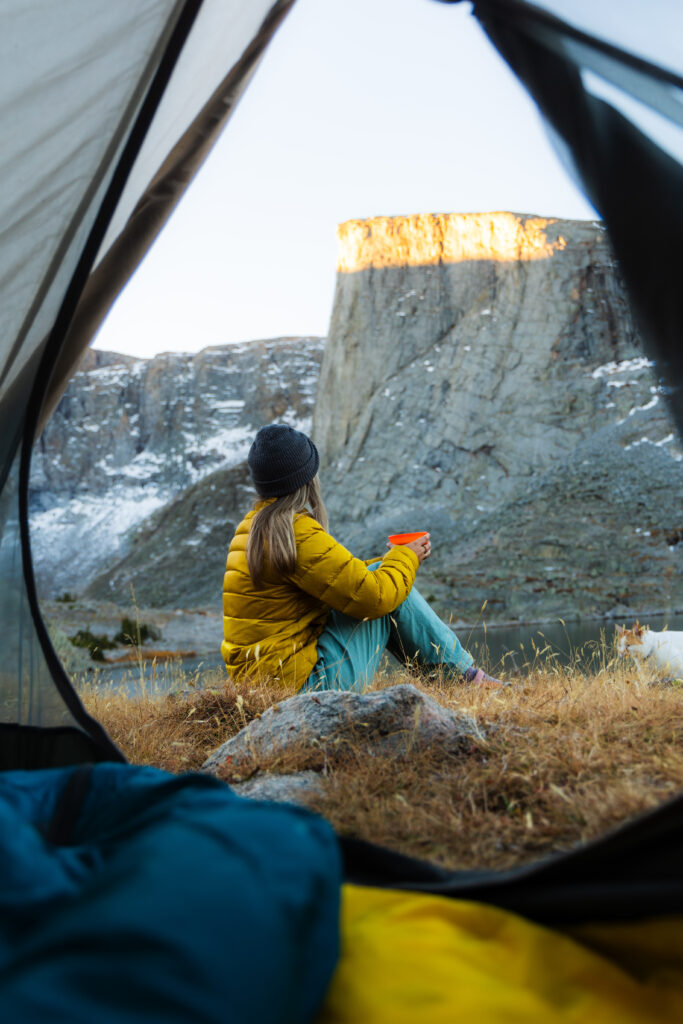
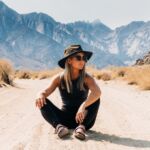
Let me start this article off by saying I am the furthest thing from an "Instagram model." In fact, this is what I look like on 90% of my travels:
But when it comes to how to take good Instagram photos, all you really need to do is learn three key elements:
- Angles
- Posing
- Editing
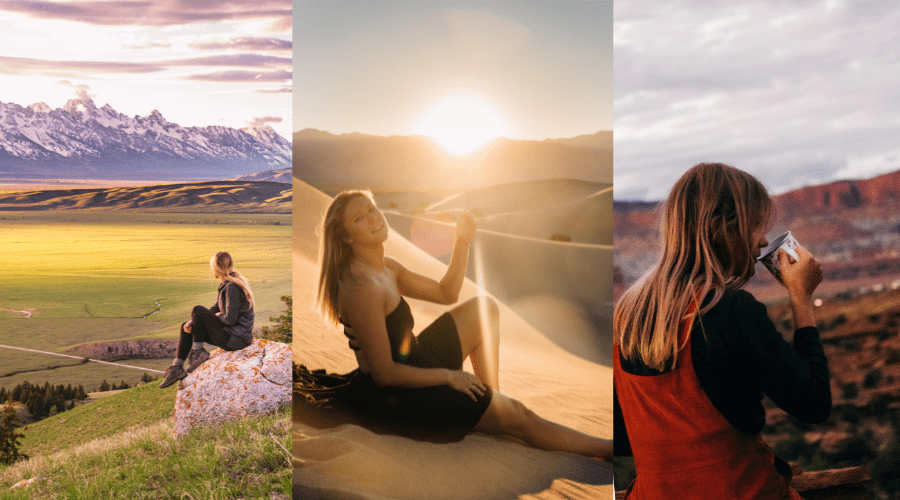
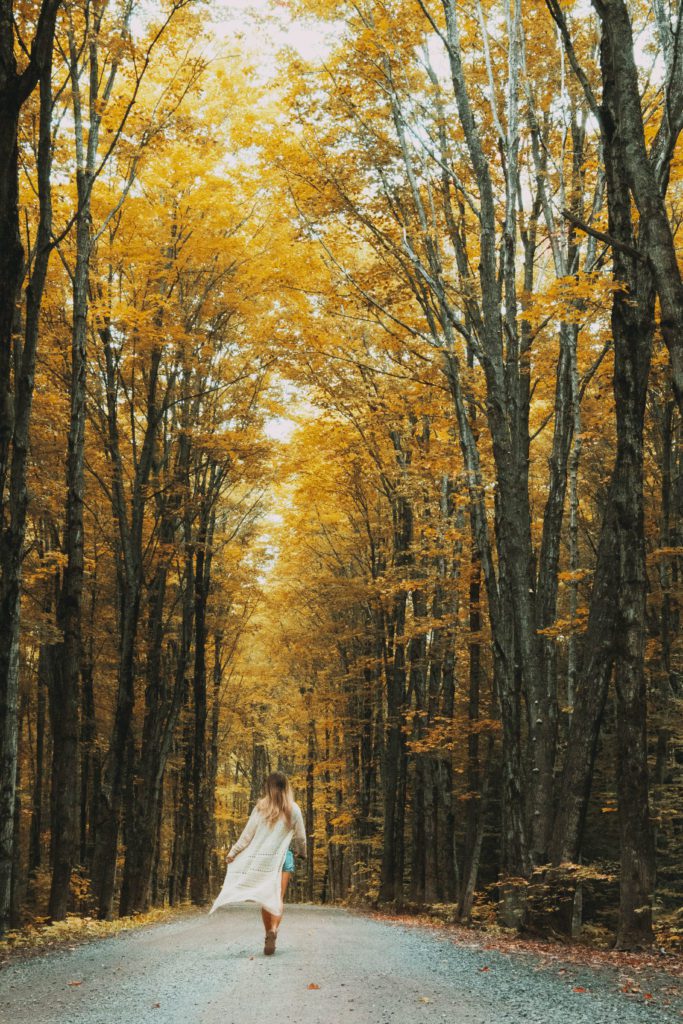
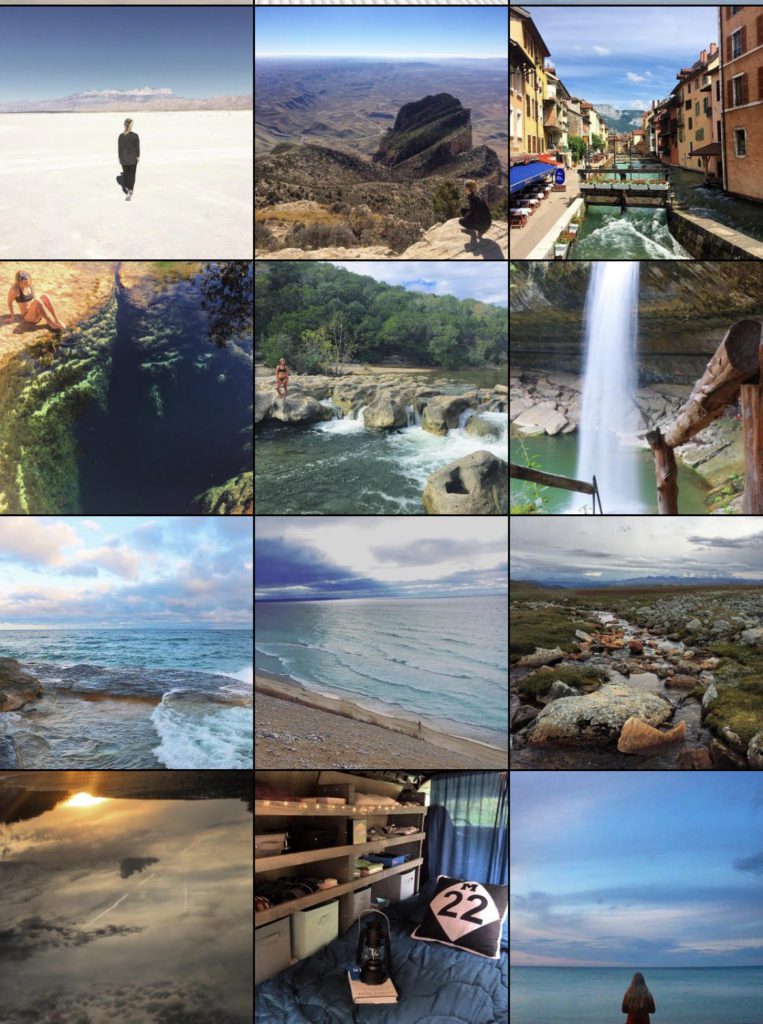
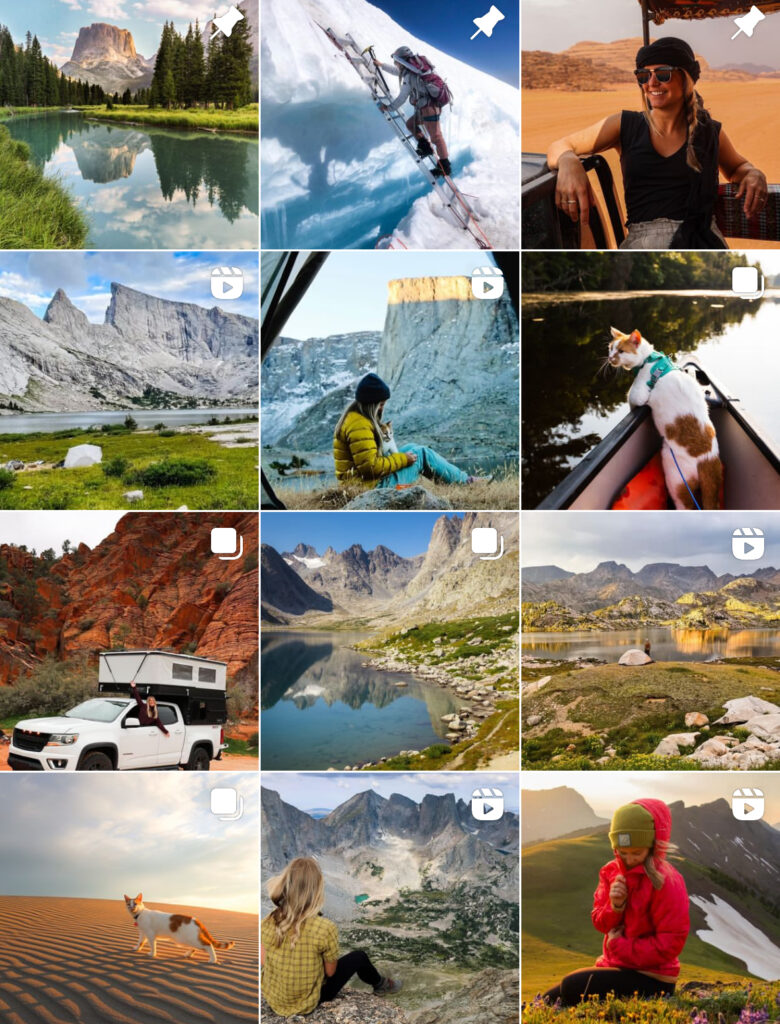
Below are two images from my Instagram account @shaleewanders taken a few years apart. The first shows how I used to post images. They aren't bad photos, but they definitely could be better. The second photo showcases what my feed looks like today:
How to Take Good Instagram Photos: Equipment
I shoot on a lot of different pieces of equipment. As of 2024, I shoot with four main pieces of equipment:
- iPhone 15 Pro (stories, vlogging)
- Canon R6 Mark II (landscapes, travel)
- Canon M50 (compact travel, backpacking, vlogging)
- DJI Mavic Air 2 (Drone)
If you are looking to invest in a great beginning camera that is lightweight, portable, and takes incredible images, I recommend either the Canon 80d or the Sony a8000. I shot with the Canon 70d (one model earlier) for over five years. I still have the camera, who I have named Nigel, and shoot with him occasionally even though I have upgraded equipment.
The Sony a6000 is a mirrorless option, making it quite a bit smaller than the canon. I have tried Sony cameras in the past but I have always enjoyed shooting with Canon more.
The Canon 80d sits around $1000 for a body and kit camera.
The Sony a6000 sits around $879.
How to Take Good Instagram Photos: Photo Tips
1) Rule of Thirds
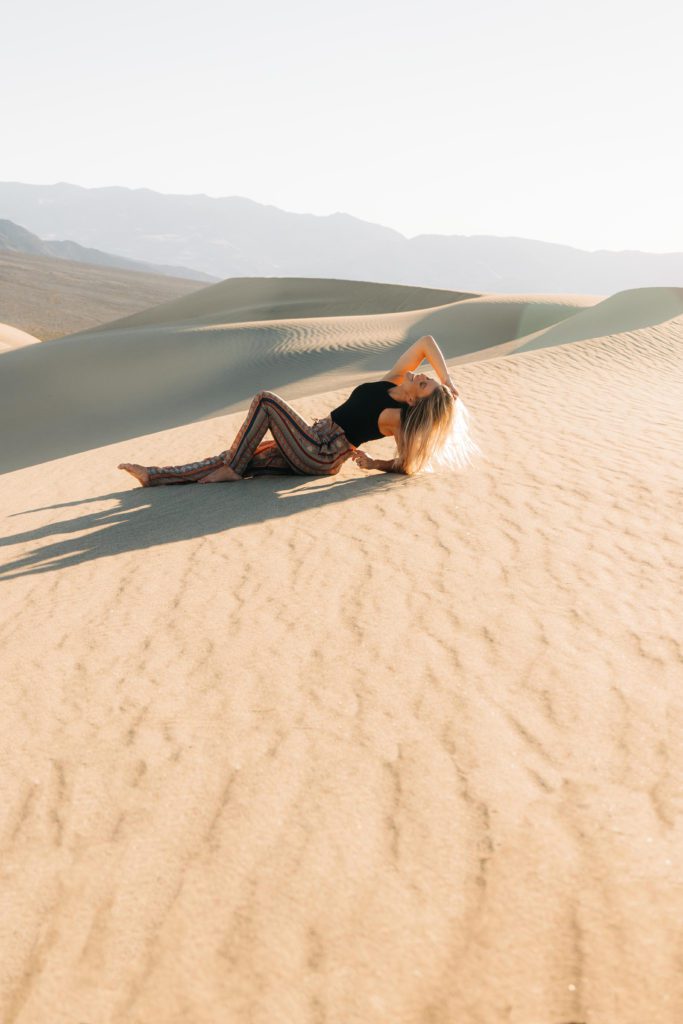
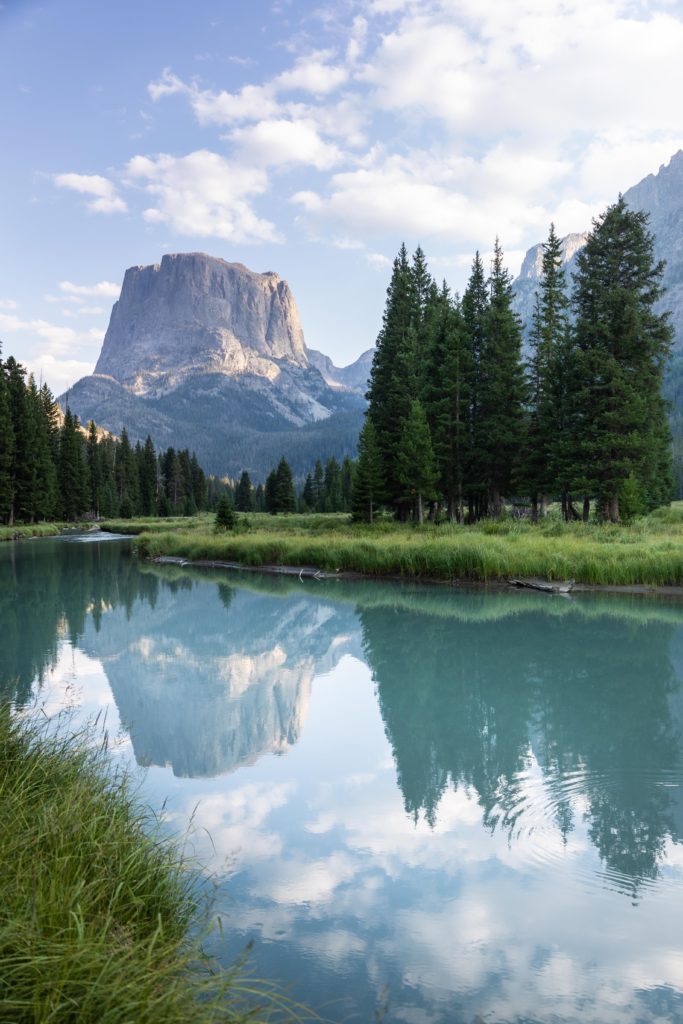
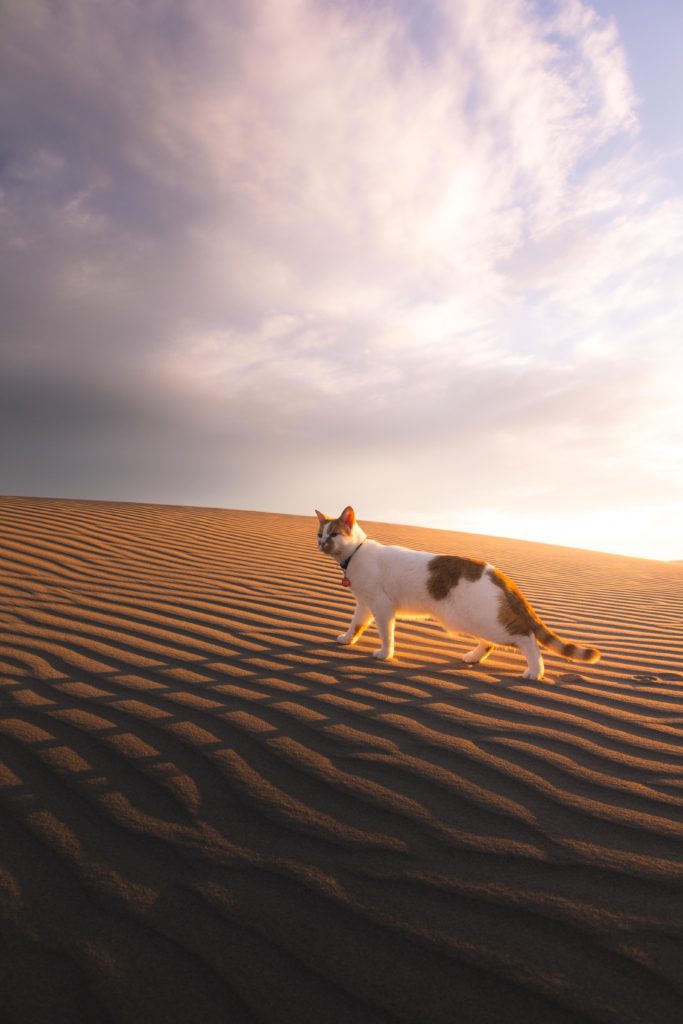
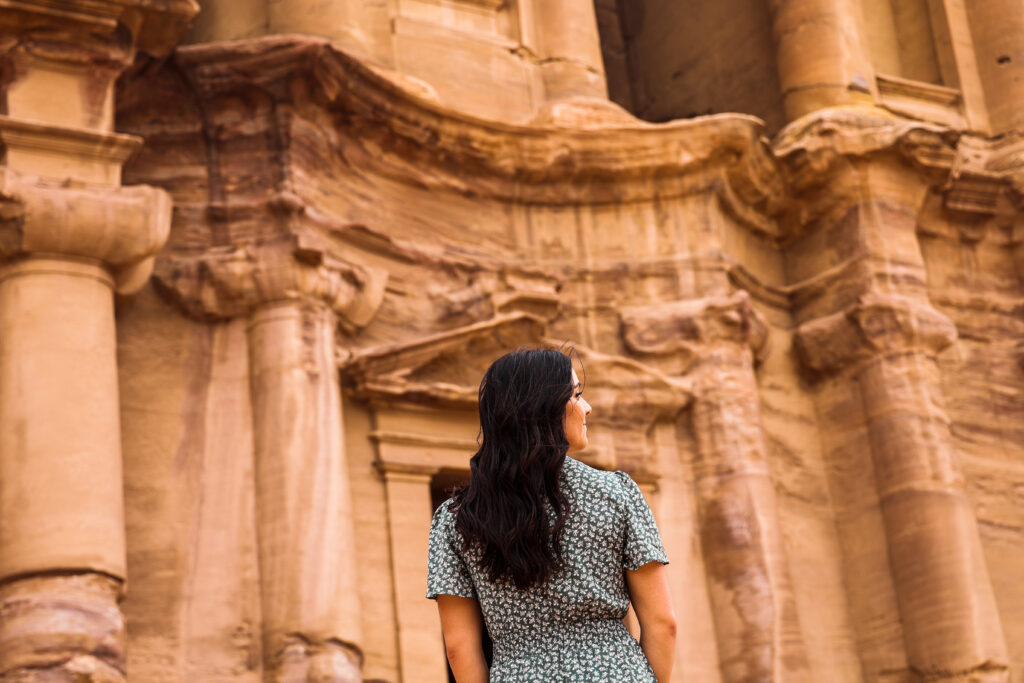
Studies show that having the subject of the photo slightly off-center increases the appeal and makes the image more interesting to the viewer. This is a basic photography principle known as the "Rule of Thirds."
If you were to put a dot in the center of your image, it might not be the subject. That's OK, and actually preferred in a lot of cases. Here are a couple of examples:
2) Don't over-pose
When I am shooting clients, I always push them to just be themselves. Overly-posed photos can turn out awkward and be hard for the viewer to relate to.
And don't be afraid to post candid moments that aren't perfect. If a friend catches a photo of you laughing and your laugh lines are visible - post the photo! My highest engaging photos on @shaleewanders are the ones where I am sharing real stories and real photos.
3) Be natural
This goes hand-in-hand with posing. As mentioned above, I am not an Instagram model and I'm totally okay with that. But I also don't pretend like I am. If you are on the beach watching a sunset, have a friend or self-timer catch you standing in the waves. This is something you would naturally do, which gives the photo a sense of "realism".
When you are getting your photo taken, you usually know your photo is being taken. This can make it hard to "be natural". How do you overcome it? Laugh. Let your friends call you out on your pose. Be the picture taker that takes the picture when your friend laughs at themselves. A real picture is always better than a yoga-pose.
4) Take it easy on the filters/edits
Editing your photos is a big part of elevating your Instagram photos, however, less is more many times when it comes to filters and edits.
As someone who edits thousands of photos annually, I can say I only use photoshop a few times a year to get rid of things like extra footprints, people in the background, etc. But I tend to keep my photos pretty close in color and style to the original shot.
5) Avoid other people - and visit unique places
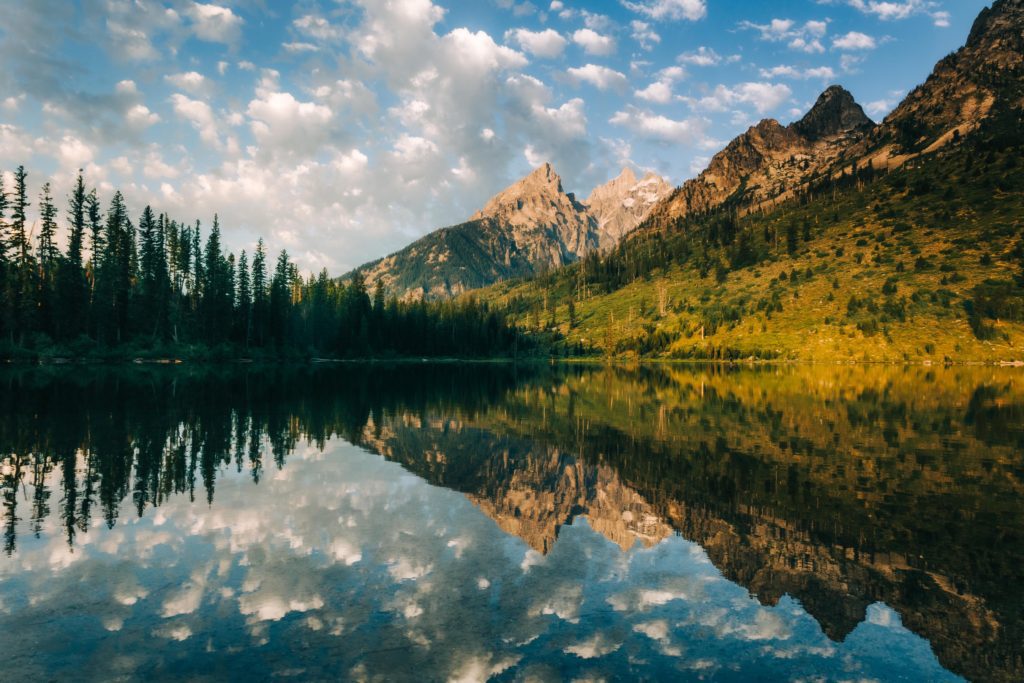
All it takes is one viral photo on social media to turn a quiet location or street into an influencer haven. Devil's Bridge in Arizona is a perfect example. When we visited in 2016 we had the place to ourselves. I haven't been back, but multiple sources have told me that there is typically a line of up to 100 people waiting to get 'the shot' on any given day.
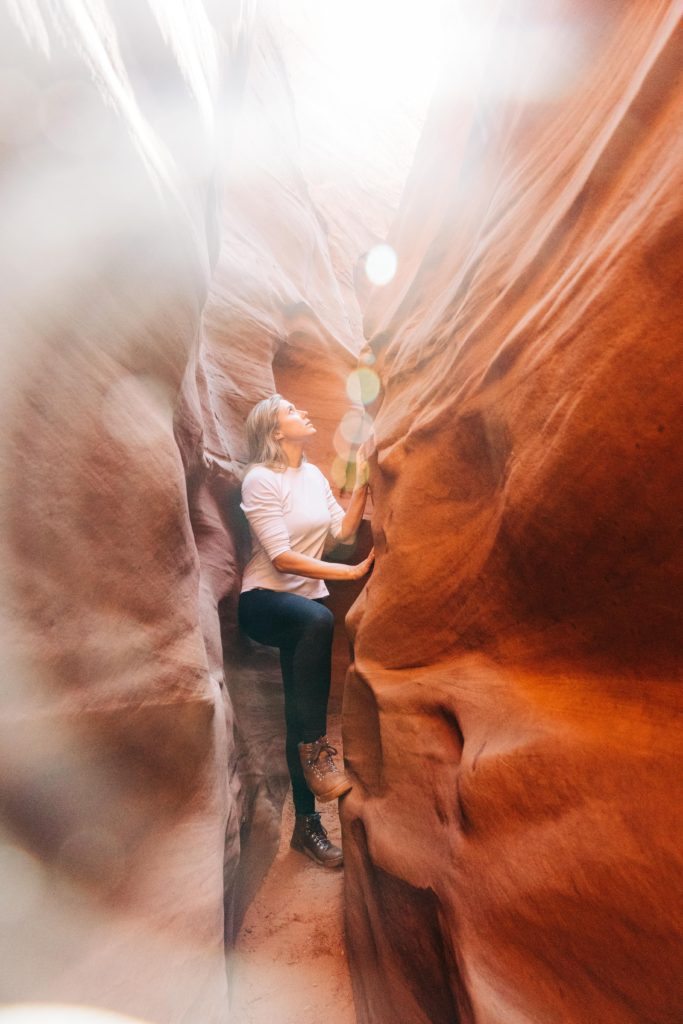
So when you think of a place you want to shoot, don't just go for the easy ones. In the slot canyon in the photo below a lot of people have mistaken it for the famed Antelope Canyon. However, it was a lesser-known slot canyon in Utah where we were able to set up and shoot multiple locations without anyone else coming by.
Shooting without anyone around you helps allow you to relax and takes a lot of pressure off, which almost always makes the end photo better. I will fully admit I HATE taking images with a ton of people standing around. I'd rather run around, laugh, be weird, take 100 random shots and bet on 1 being decent enough to post.
6) Test different angles and use them to your advantage
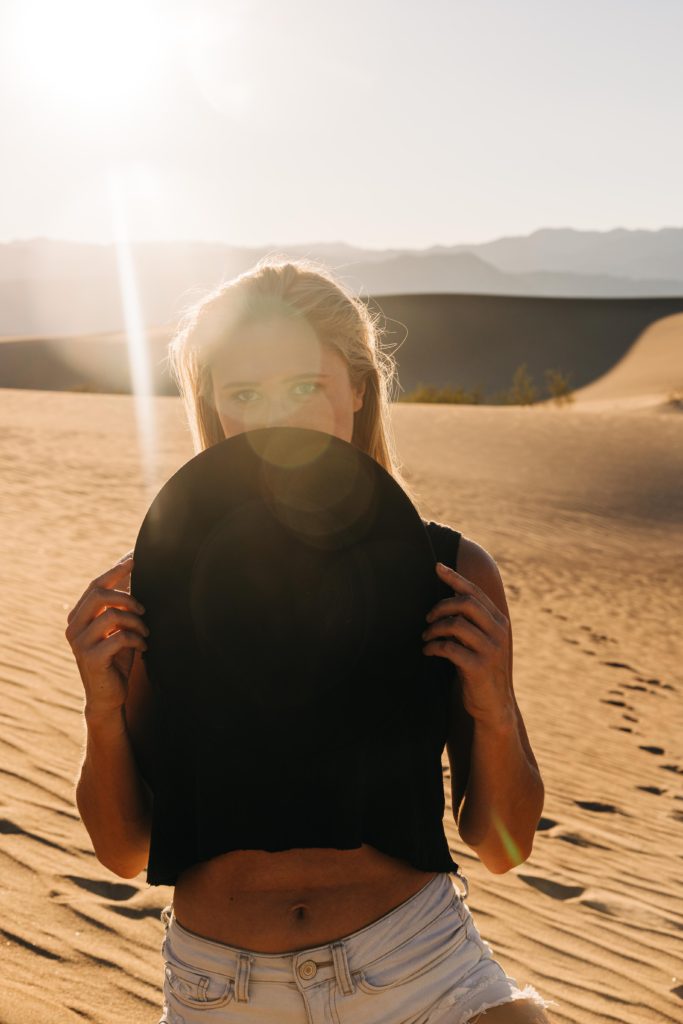
When it comes to how to take good Instagram photos, one of the biggest masterpoints is understanding angles and how to use them to your advantage. Whether taking an up-close OOTD shot or an epic travel photo, play with angles, and figure out which looks best.
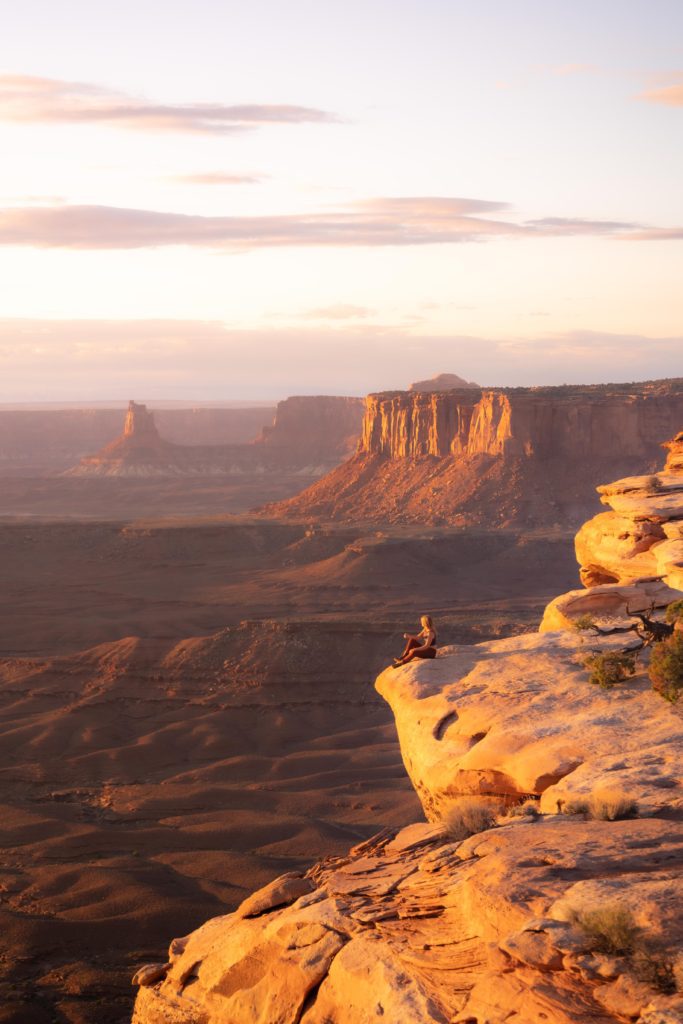
For example, in the photo below it appears I am teetering on the edge of death while sitting on the side of a cliff in Canyonlands National Park. It was a safe place to sit, but the angle captures the seat in a much more daring light. To prove it wasn't risky, my friend, who is afraid of heights, sat there as well (second photo).
If you are short like me (5'2) but want to make yourself look taller in photos, set up the tripod close to the ground and shoot at an upward angle to make your legs look longer.
7) Communicate with your photographer
Both Josh and I love travel photos, but we are unique in how we like to edit/shoot. We communicate with each other the angle and direction of the photo we want. Don't hand your camera to someone assuming they'll see the same photo you see. Hold the phone in the exact spot and position you want it before handing it off to assure it's exactly what you've envisioned.
8) Learn to edit in Lightroom (it's super easy!)
Capturing the photo is step number one. Editing the photo is the second (but equally as important) step. Adobe offers a $10/month photography plan that allows access to Lightroom, Mobile Lightroom, and Photoshop, which is more than you will ever need for all your photo editing needs.
If you are learning and getting started with editing photos, you can always buy presets to get you started. With my photos I typically start with three basic editing tools:
- Adjust tone curve for every photo.
- Brightness - My photo "vibe" typically leans towards bright & colorful. I typically adjust brightness on photos to reflect this.
- Increase contrast but decrease clarity - I like doing both edits when wanting to make my photos have a 'dreamy' style.
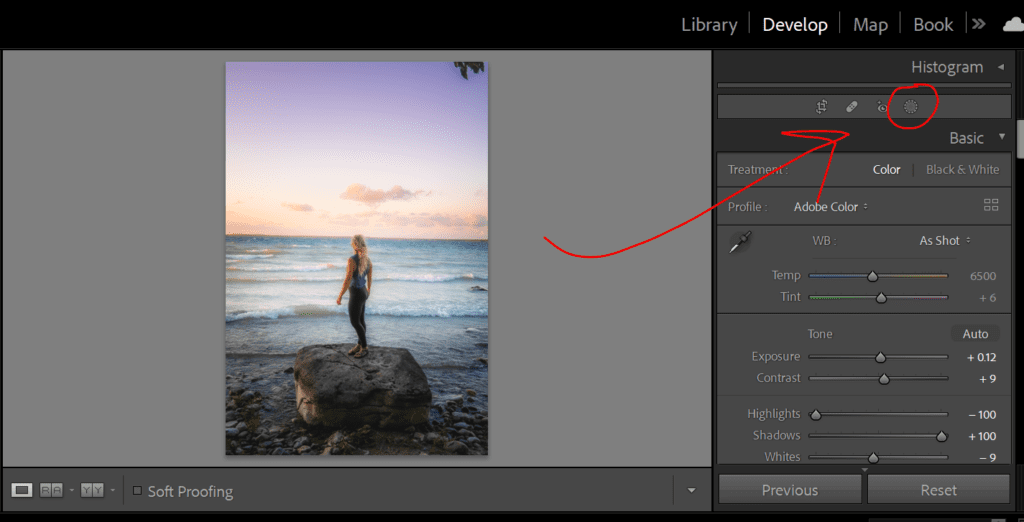
- Brightening the subject - in 2022 Lightroom implements a handy new feature that has made bringing out your subject easier than ever. Make sure to only add subtle brightness, as increasing it too much can make it look unnatural. In Lightroom, select the masking tool, then hit the '+' button and select the "select subject option. Your subject will highlight and red. From there, you can make adjustments only to the highlights section of the photo.

9) Take a shit ton of photos.
When you're taking photos 99 can turn out horrible and 1 can turn out great. That 1 great one is all you need.
I don't like to spend too much time shooting because even though we're taking photos for Instagram everywhere I hate being places feeling like it's just for Instagram. Especially on DSLR cameras, there are often rapid-fire options that take many photos in quick succession. Combine the previous points of acting natural and rapid shoot them.
For example, walk toward the photo and run your hand through your hair. You could easily get 20-40 shots from a short 10-second walk. Do that a few more times and you'll have a pretty good pool of photos to look through later. You'll hit the mark with one of them.

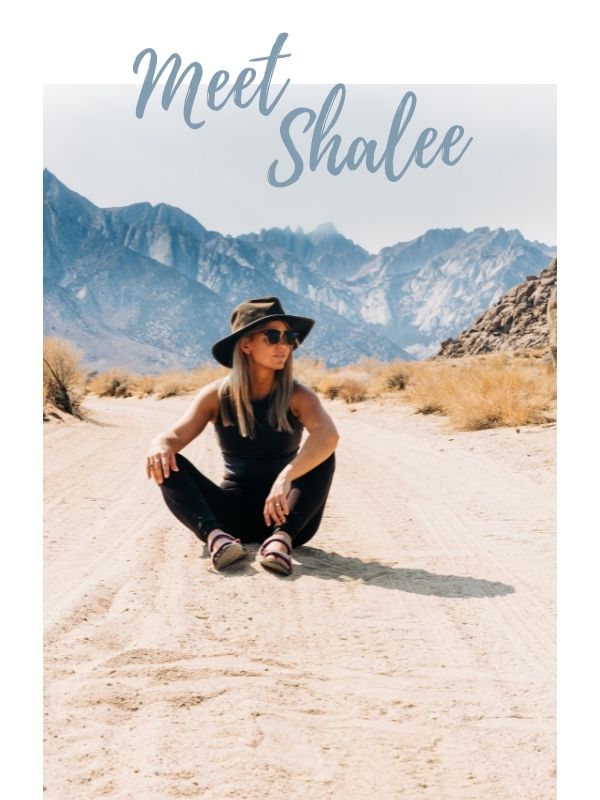
At any given moment, Shalee is either lost, hunting for ice cream, or obsessively planning her next adventure.
Born and raised in rural Michigan, she began exploring the shores of Great Lakes as a teen, often sleeping in her car to save money. Eventually, her urge to explore pushed beyond her Midwest borders. Today, Shalee shares her tips and stories to thousands of readers interested in adventure and outdoor tourism. Her pack now includes two spunky hiking cats and her partner, Josh. Learn more about her here.
Join the Adventure




Great tips. A good refresher for an old dog who takes a lot of pictures.
Get tips! Thank you!